Once I started really making ice cream, I got bitten by the ice cream bug, big time. I wanted to try any kind of crazy flavor, and my KitchenAid Ice Cream Attachment absolutely started to getting a serious workout. Banana Oreo? Honey Bunches of Oats Ice Cream? Nothing is off-limits. Of course, that quickly led to me wondering how to add fruit to a homemade ice cream base.
Adding fruit to an ice cream base is easy, BUT it is more than just throwing in the fruit! There are a few reasons for this:
- Fruit, fresh or frozen, has excess moisture. This releases water into the ice cream, adding water to your custard base. This can lead to an icy, gritty texture in your ice cream because the water is breaking up that creamy custard base you worked so hard for.
- Not all fruits are created equal – meaning some are very watery and separate your ice cream, and some have a hard time breaking up into the ice cream base at all. This unpredictability makes it harder to just toss into an ice cream.
There are many hacks to add fruit to ice cream, but I find nothing is better than just adding the real fruit itself. It minimizes the amount of hyper-processed ingredients in the ice cream base, it keeps the flavors fresh, authentic, and vibrant, and it’s easy. You just need to do a few prep steps and you’ll have any fruit ready to go into your homemade ice cream!
Table of contents
- Ingredients you will need for fruit ice cream
- Is this ice cream or frozen custard?
- What kinds of fruits can you add to homemade ice cream?
- How to prepare the fruit for this ice cream
- How to churn this homemade ice cream
- My most important tip when making and storing homemade ice cream
- Looking for other ice cream recipes?
Ingredients you will need for fruit ice cream
The foundation of this recipe is a custard-style base, which creates a silky, scoopable texture. Here’s what you’ll need for about 1 quart of ice cream:
- 4 large egg yolks
- 1/2 cup (110g) granulated sugar, divided
- 1 1/2 cups (360g) whole milk
- 1 1/2 cups (360g) heavy cream
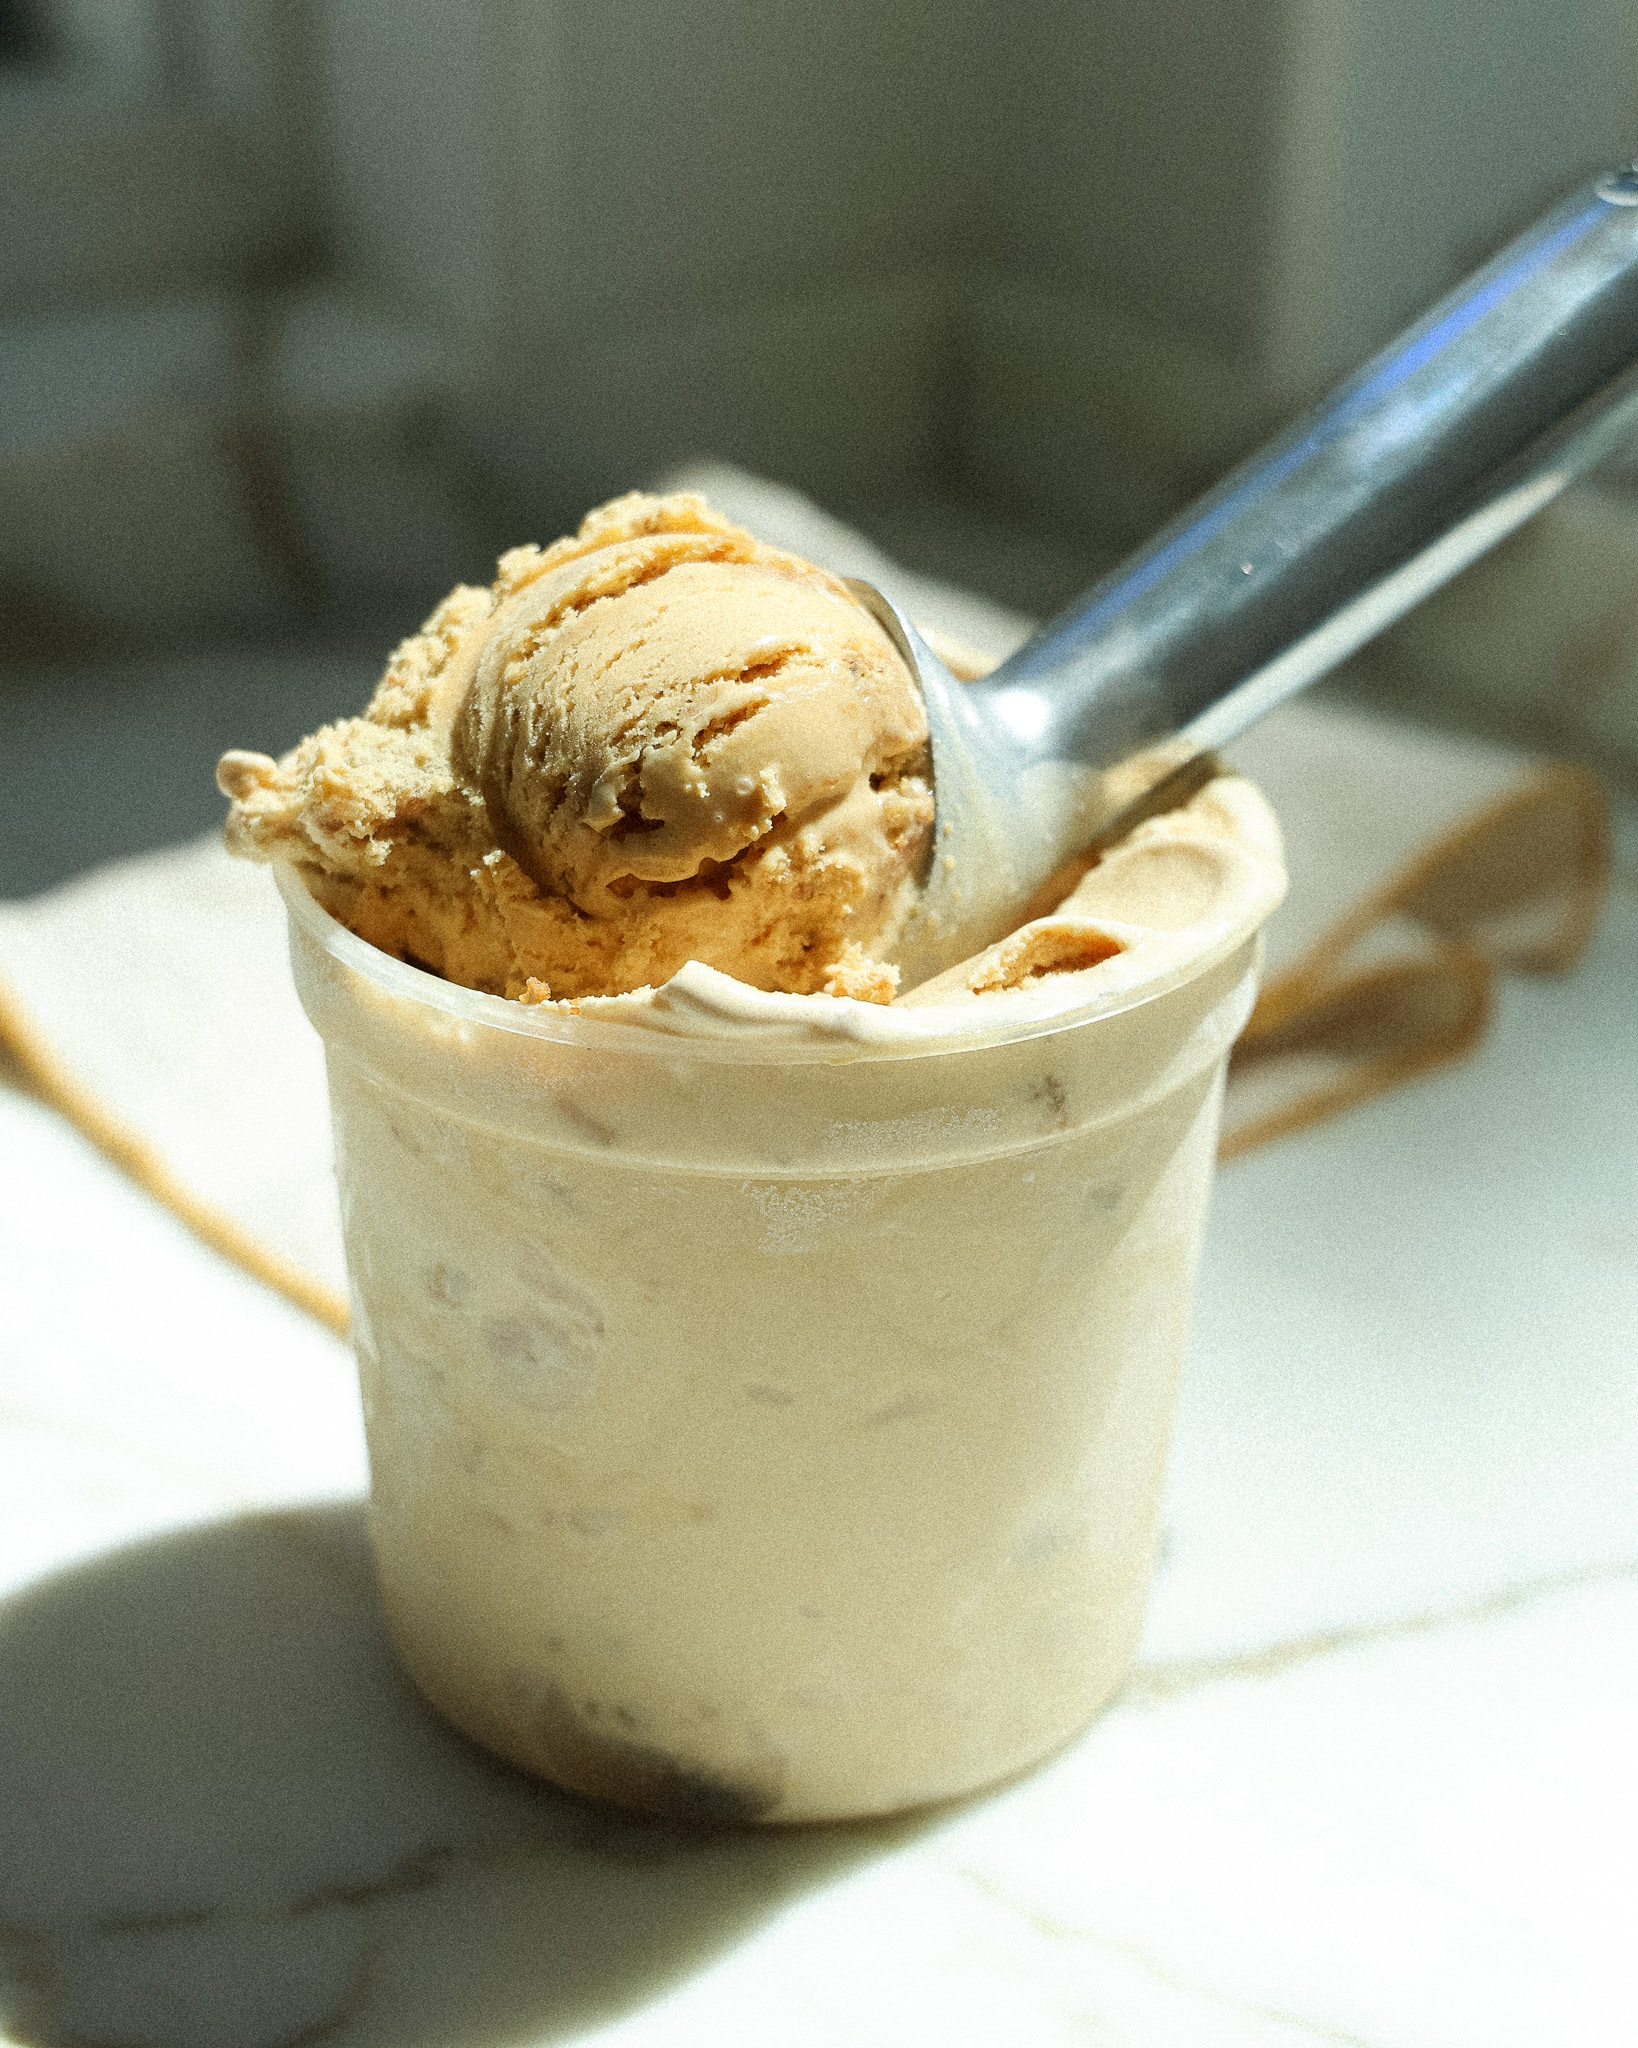
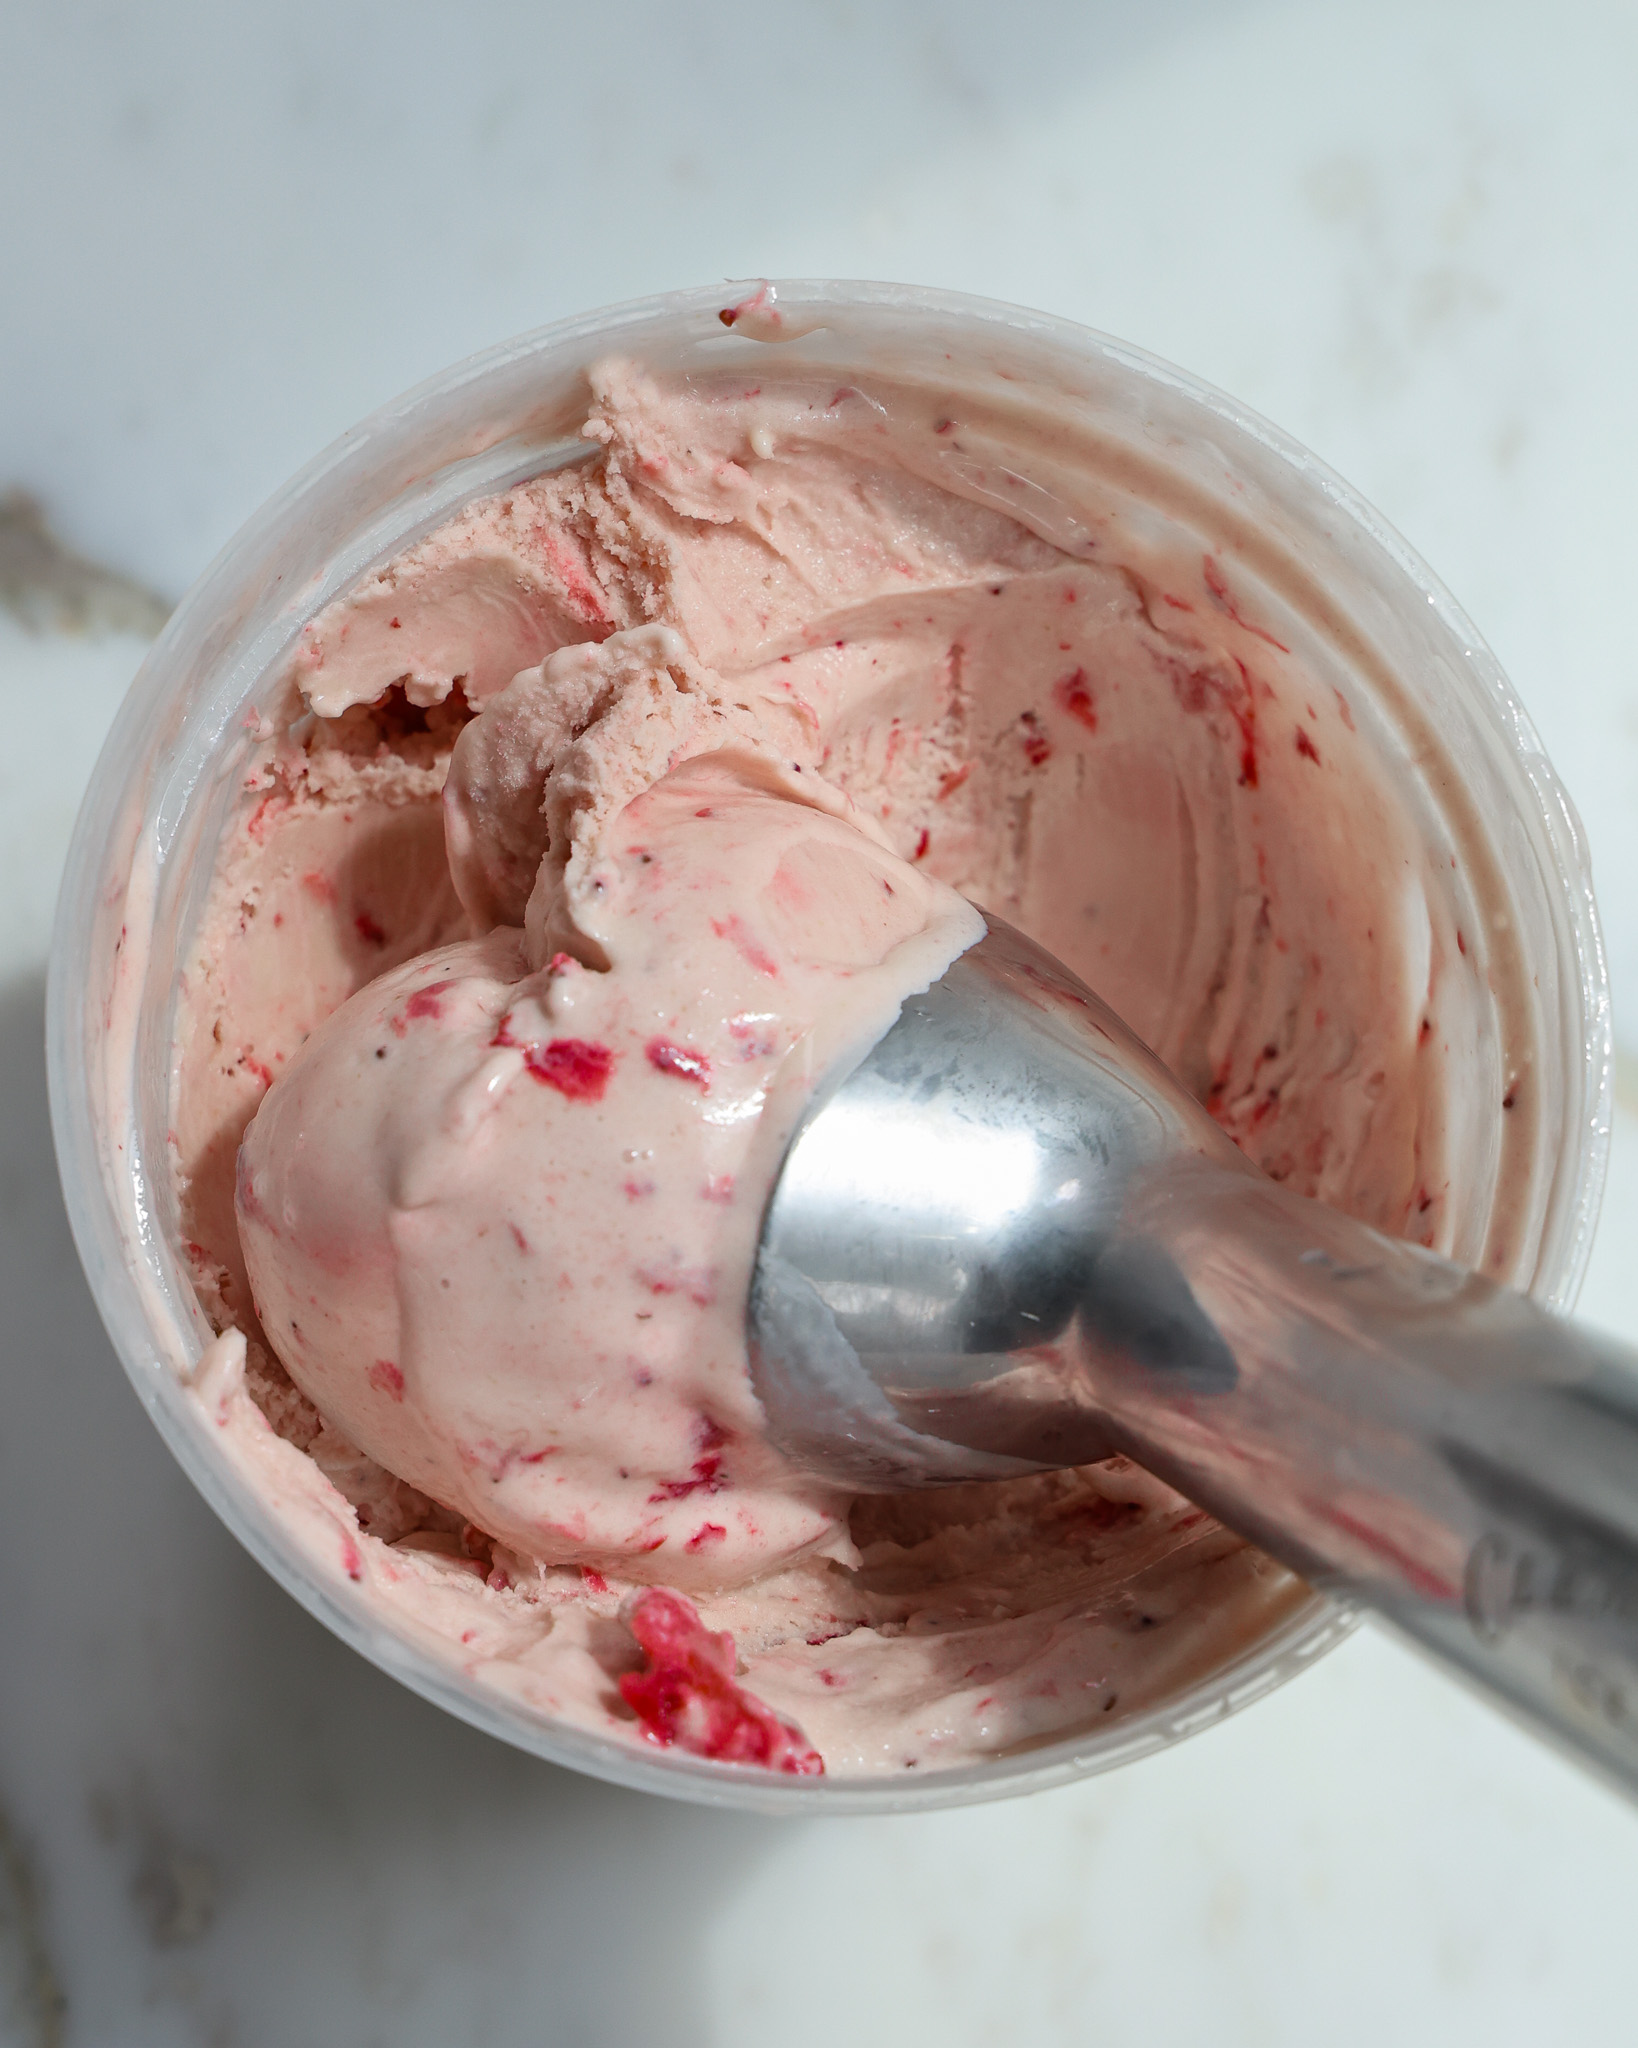
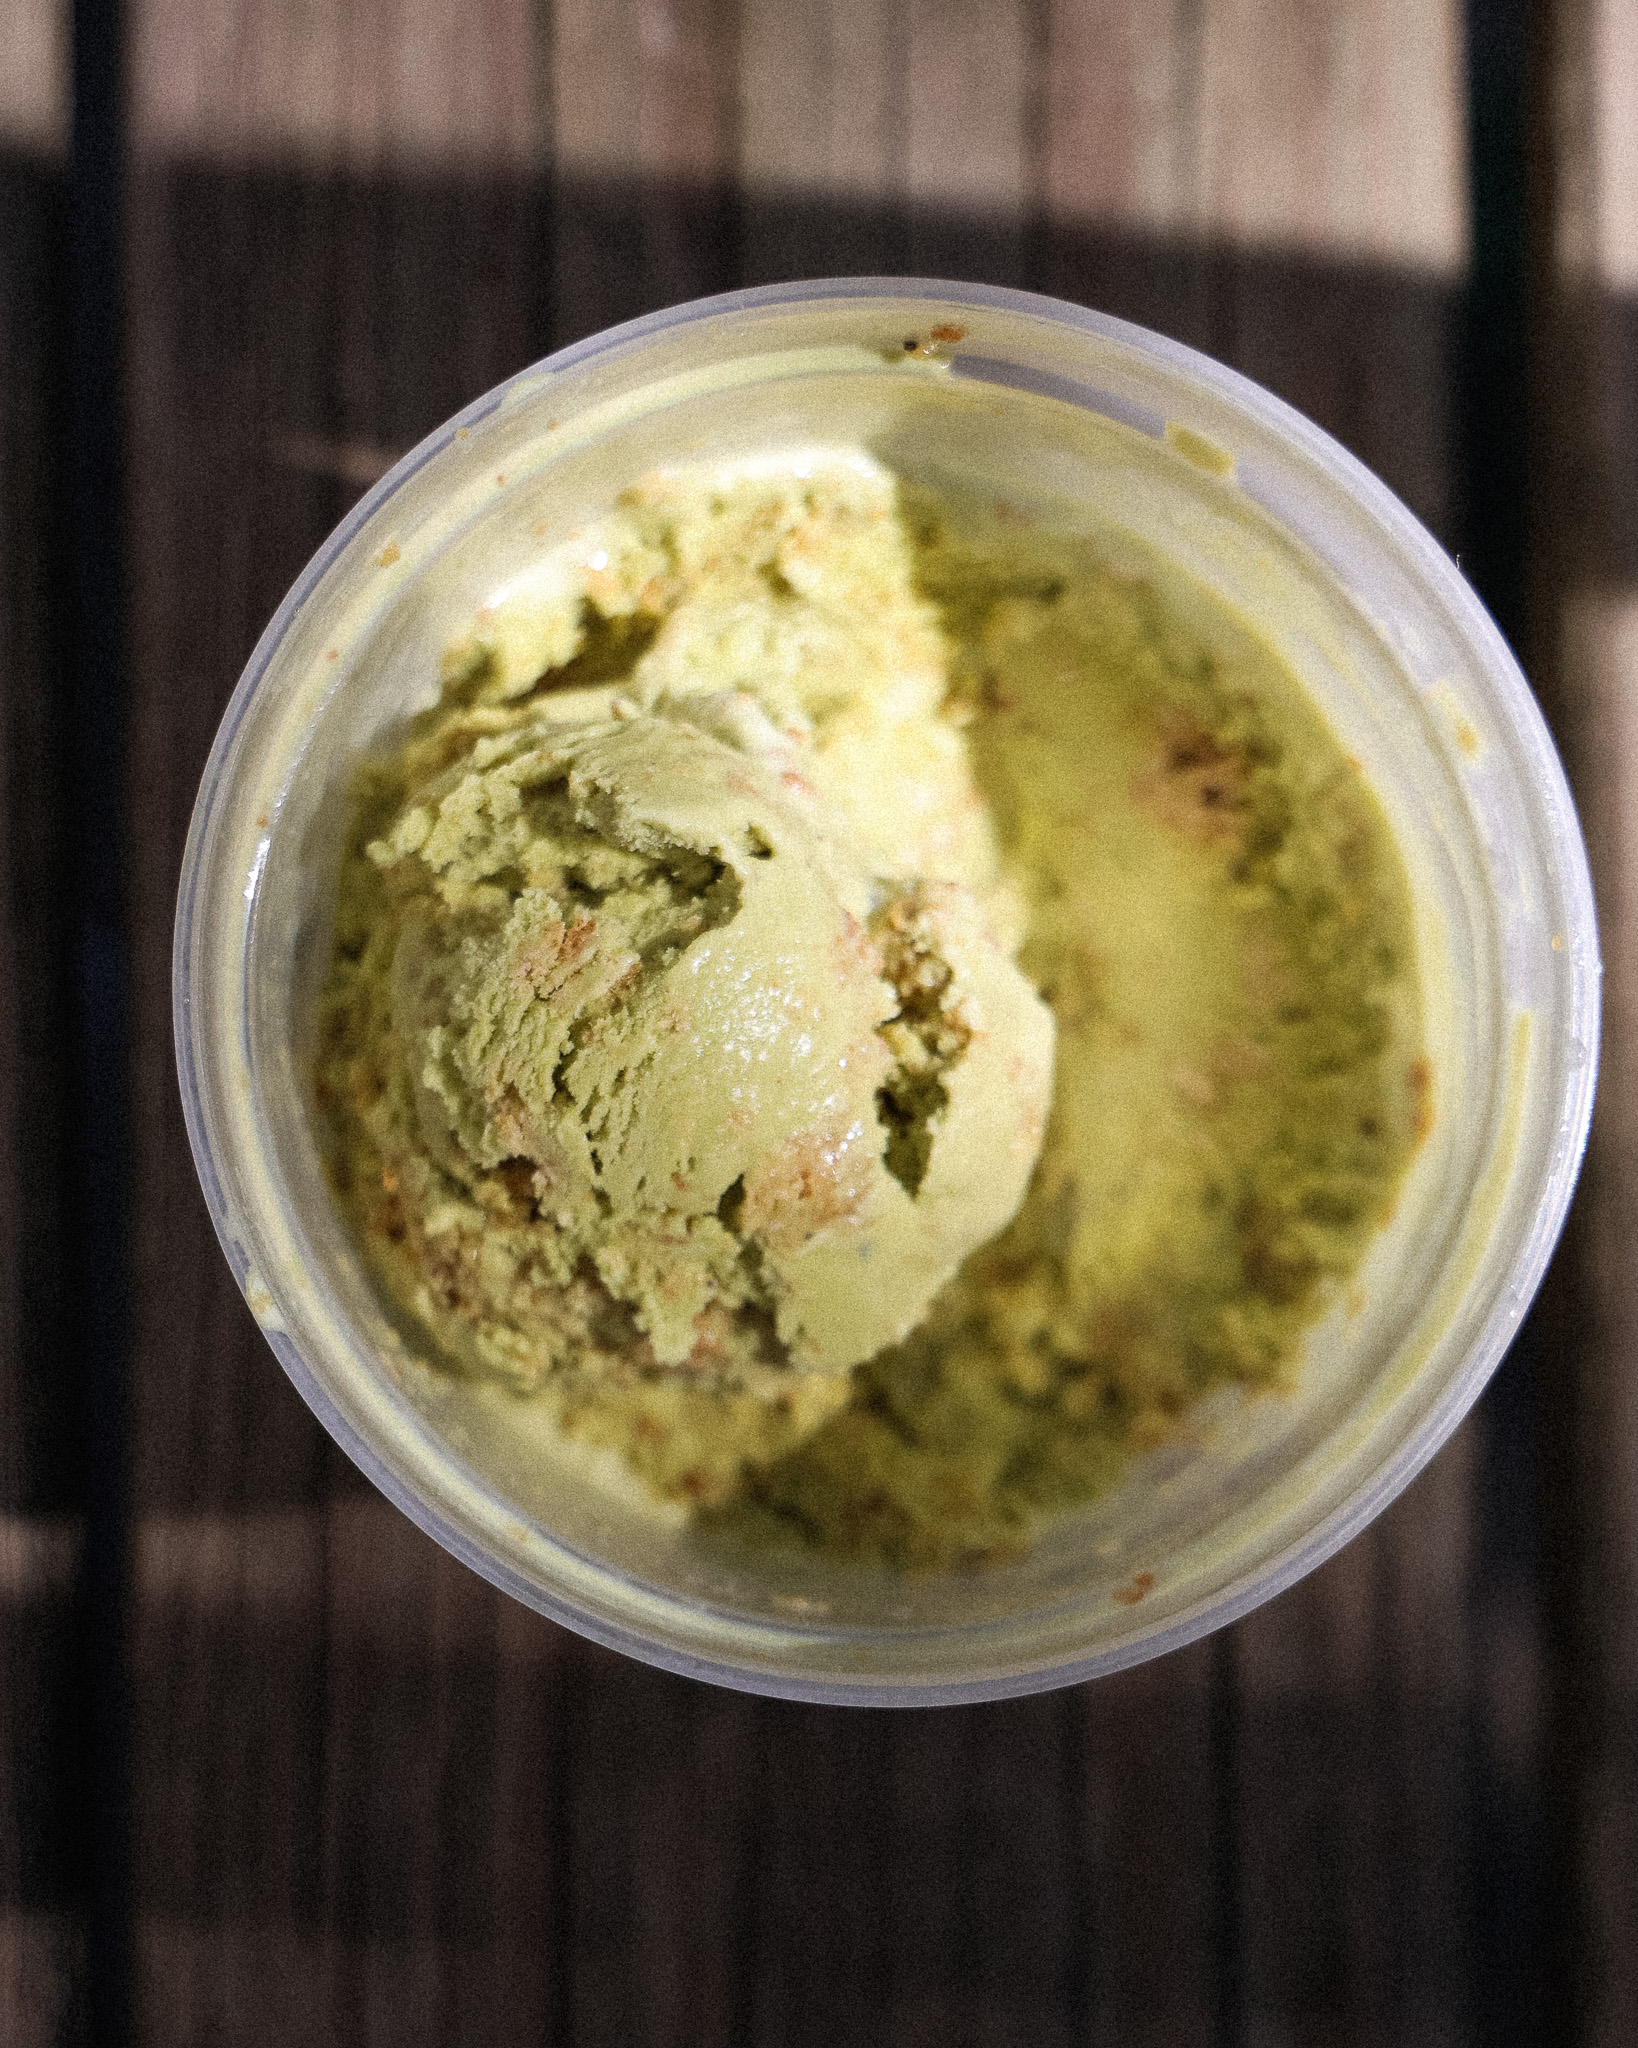
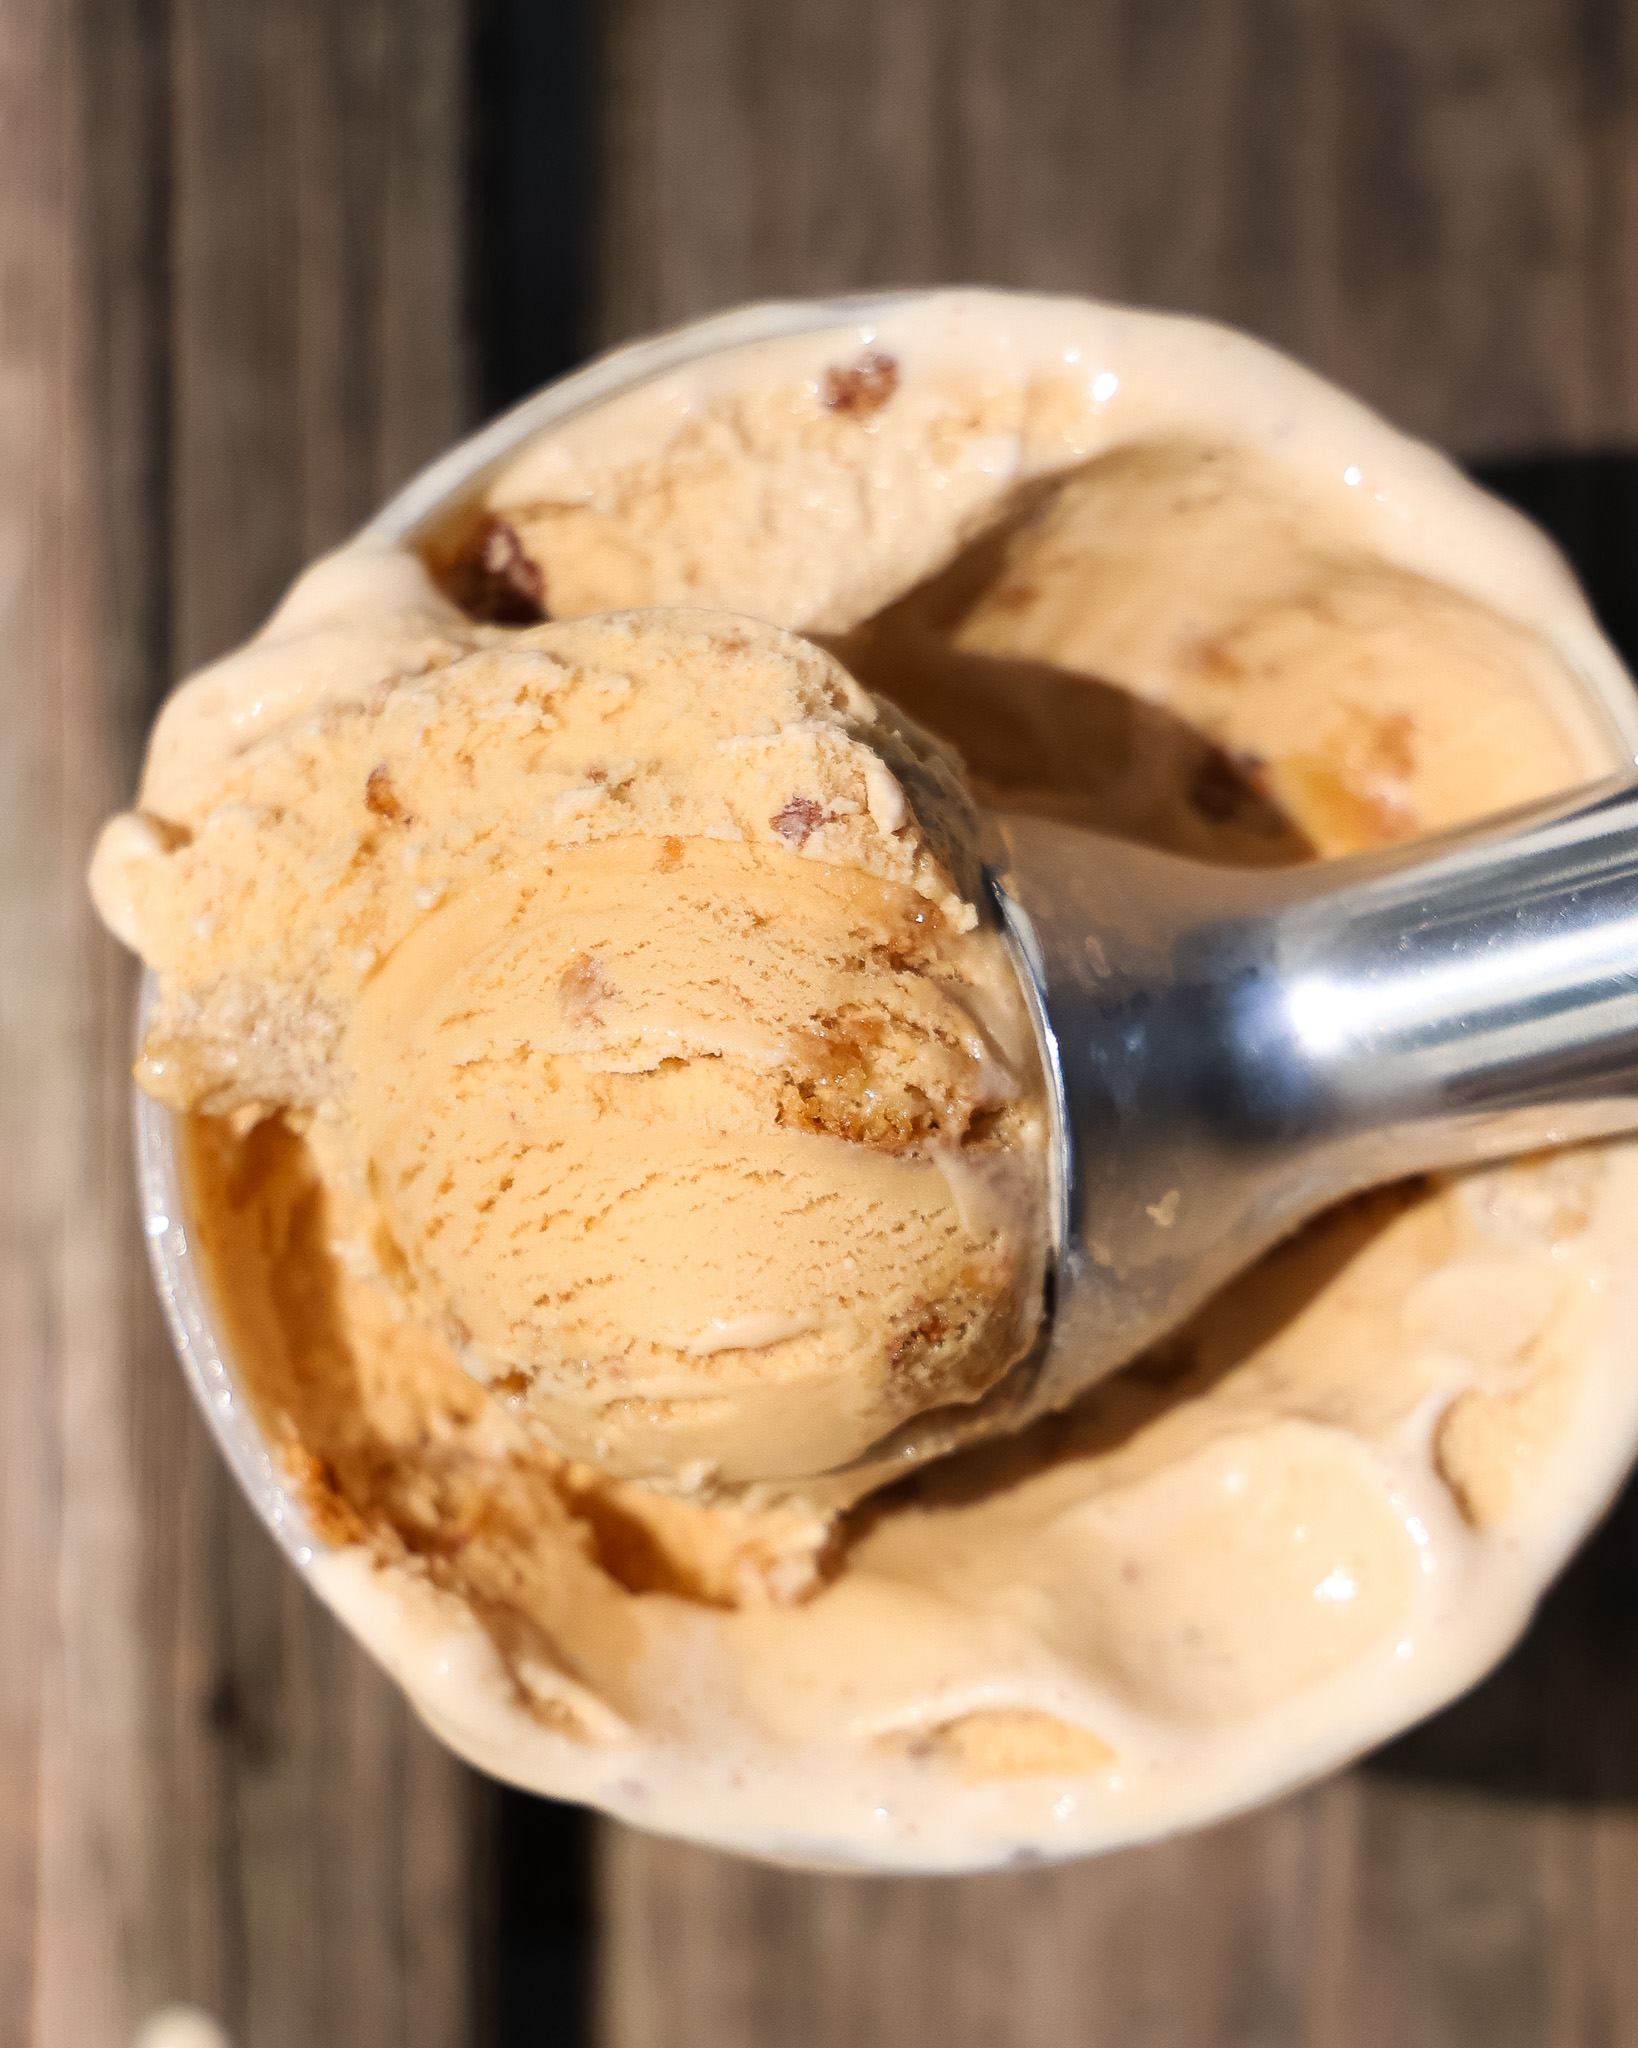
- 1 1/2 cups (300g) fruit of choice, such as strawberries, peaches, or blueberries
This combination of dairy, eggs, and sugar creates a rich and balanced canvas for your fruit. Plus, I prefer ice cream with eggs as the thickener, it creates a richer, more delicious base!
Is this ice cream or frozen custard?
Technically, this recipe is a frozen custard because it uses egg yolks. Frozen custard tends to be creamier and smoother than other ice cream styles which skip the eggs and rely on things like xanthan gum as the thickener. While my version of “ice cream” may not technically fall into ice cream, many popular companies like Haagen Daz have ice cream versions that rely on egg yolks as their thickening agent.
The yolks add richness, body, and a more luxurious texture. But whether you call it ice cream or custard, the result is delicious.
What kinds of fruits can you add to homemade ice cream?
You can make homemade ice cream with almost any fruit, but some work better than others. Soft and easily mashable fruits like strawberries, peaches, plums, and blackberries release plenty of flavor and blend beautifully into a custard base. Blueberries, cherries, and raspberries also shine when roasted before mixing in. Even tropical fruits like mango or pineapple can be used with the right prep. The key is to reduce excess water so the fruit’s flavor concentrates without adding excess water to your ice cream base.
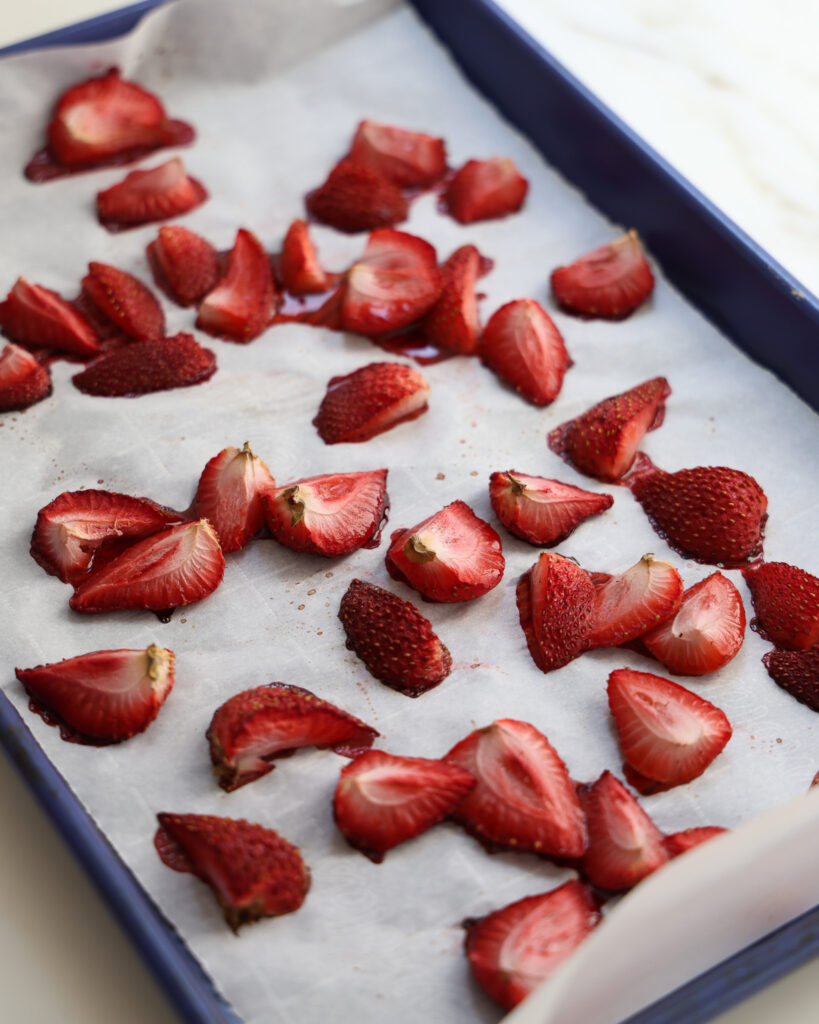
How to prepare the fruit for this ice cream
This is the most important step in learning how to add fruit to homemade ice cream. If you add raw fruit straight into the churner, the water content will freeze into ice crystals. Same goes for if you try to infuse it into your ice cream base. Instead, roast the fruit first:
- Preheat oven to 325°F.
- Slice fruit into bite-sized pieces and spread them onto a parchment-lined baking sheet.
- Roast for 30–40 minutes, until at least half the water has evaporated and the fruit is concentrated in flavor.
- Let the fruit cool completely before adding it to your base.
Roasting deepens the fruit flavor, prevents iciness, and gives your ice cream with a punch of fruity, natural sweetness.
How to churn this homemade ice cream
Once your custard base has chilled overnight and your fruit is roasted, it’s time to churn:
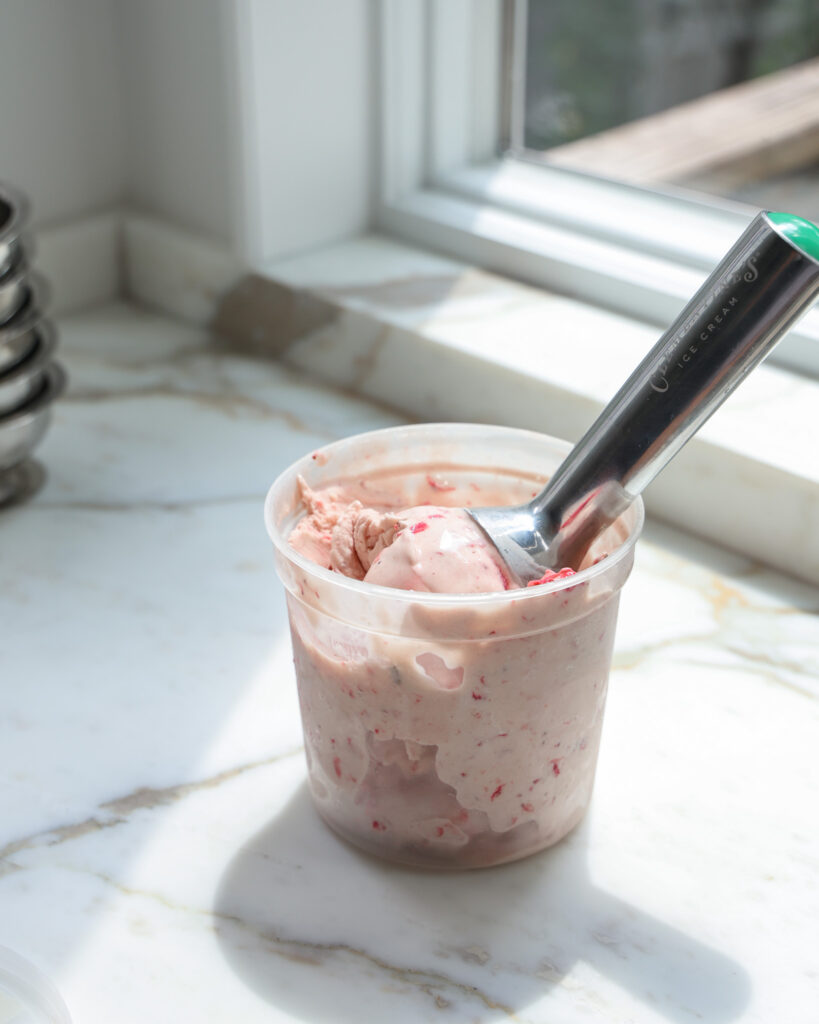
- For smooth ice cream, blend 1 cup of the custard base with the roasted fruit until smooth, then stir it back into the rest of the base. For a chunkier texture, simply fold in the roasted fruit pieces.
- Pour the custard into your ice cream maker (such as a KitchenAid ice cream attachment or traditional churner).
- Churn for 20–30 minutes, until the ice cream looks like soft serve, or slightly firmer.
- Transfer to a container, cover, and freeze another 2–3 hours before scooping.
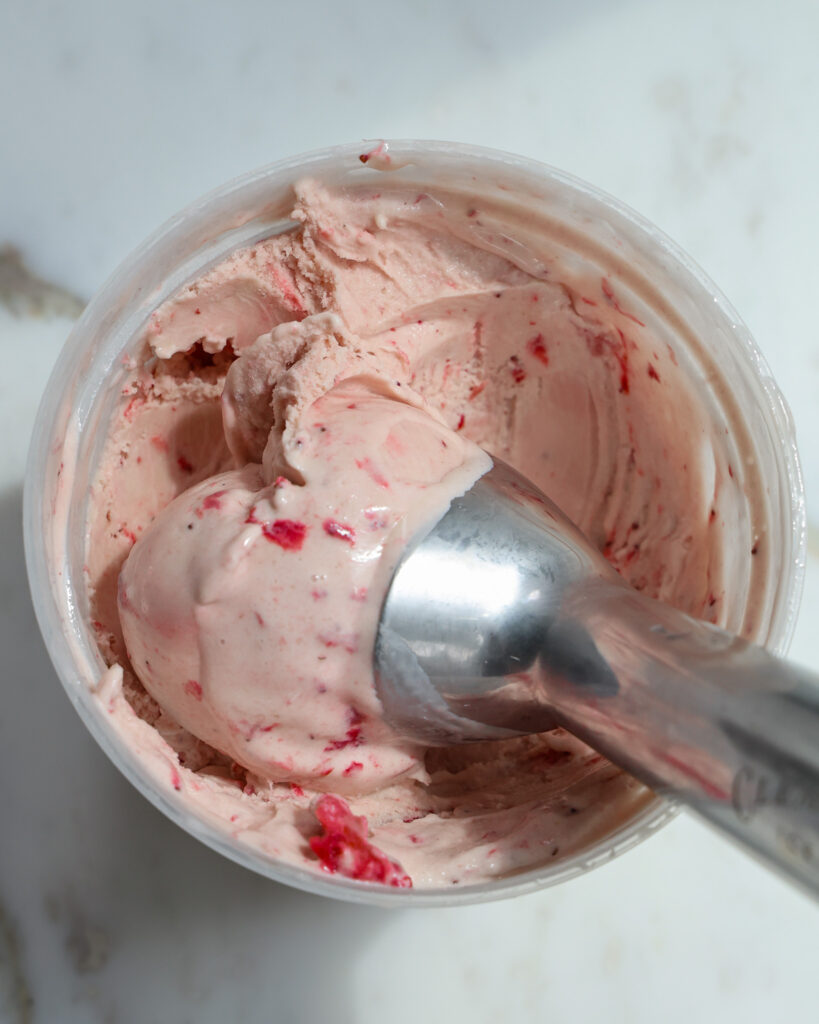
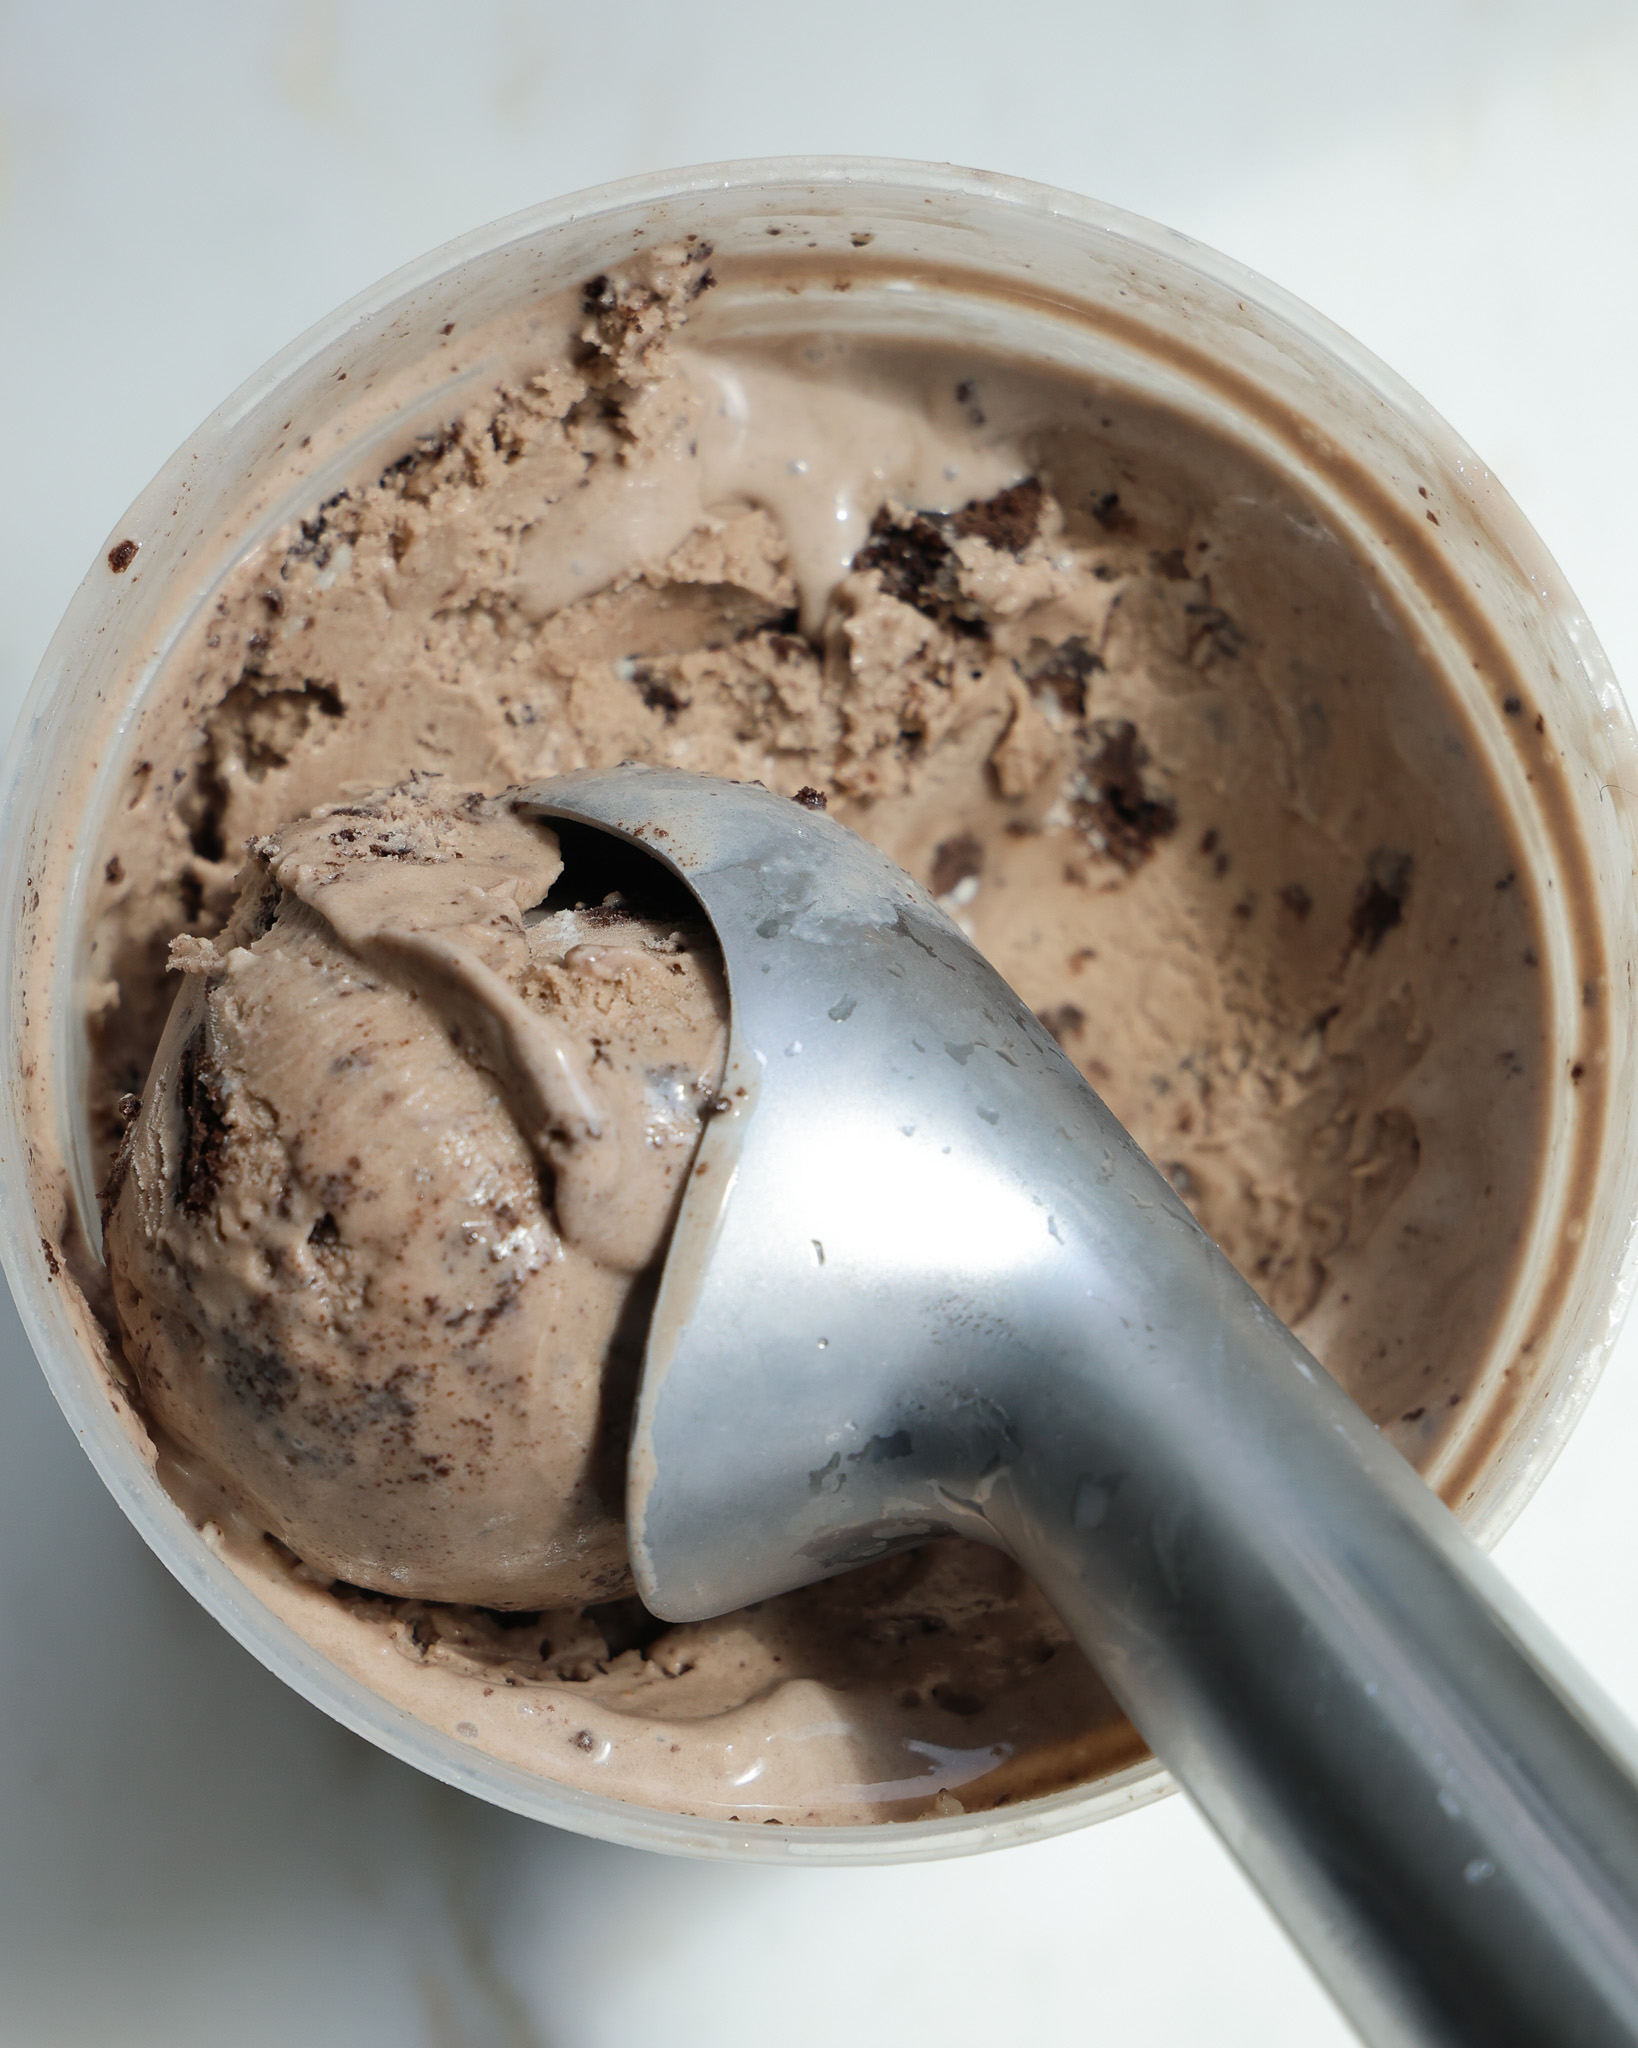
The result? A creamy, flavorful ice cream bursting with real fruit—never icy, always delicious.
My most important tip when making and storing homemade ice cream
The most important tip I ever learned while making ice cream is: the more it melts and refreezes (even a little bit!) the more you hurt its texture. Churning ice cream is like slowly whipping in air, you’re using the cold temperature and the churner to create that light, smooth, creamy texture we all associate with ice cream. When your ice cream is freshly churned, it’s at its peak. The key is to gently move it to the container you plan to store it in. Do not mash it into the container, just lightly spoon it in with a gentle press to get out any air pockets. Cover and store this in the freezer, but remember, don’t let it get too soft again. This will maintain its perfect, just-churned texture.
Looking for other ice cream recipes?
Here are a few favorites!
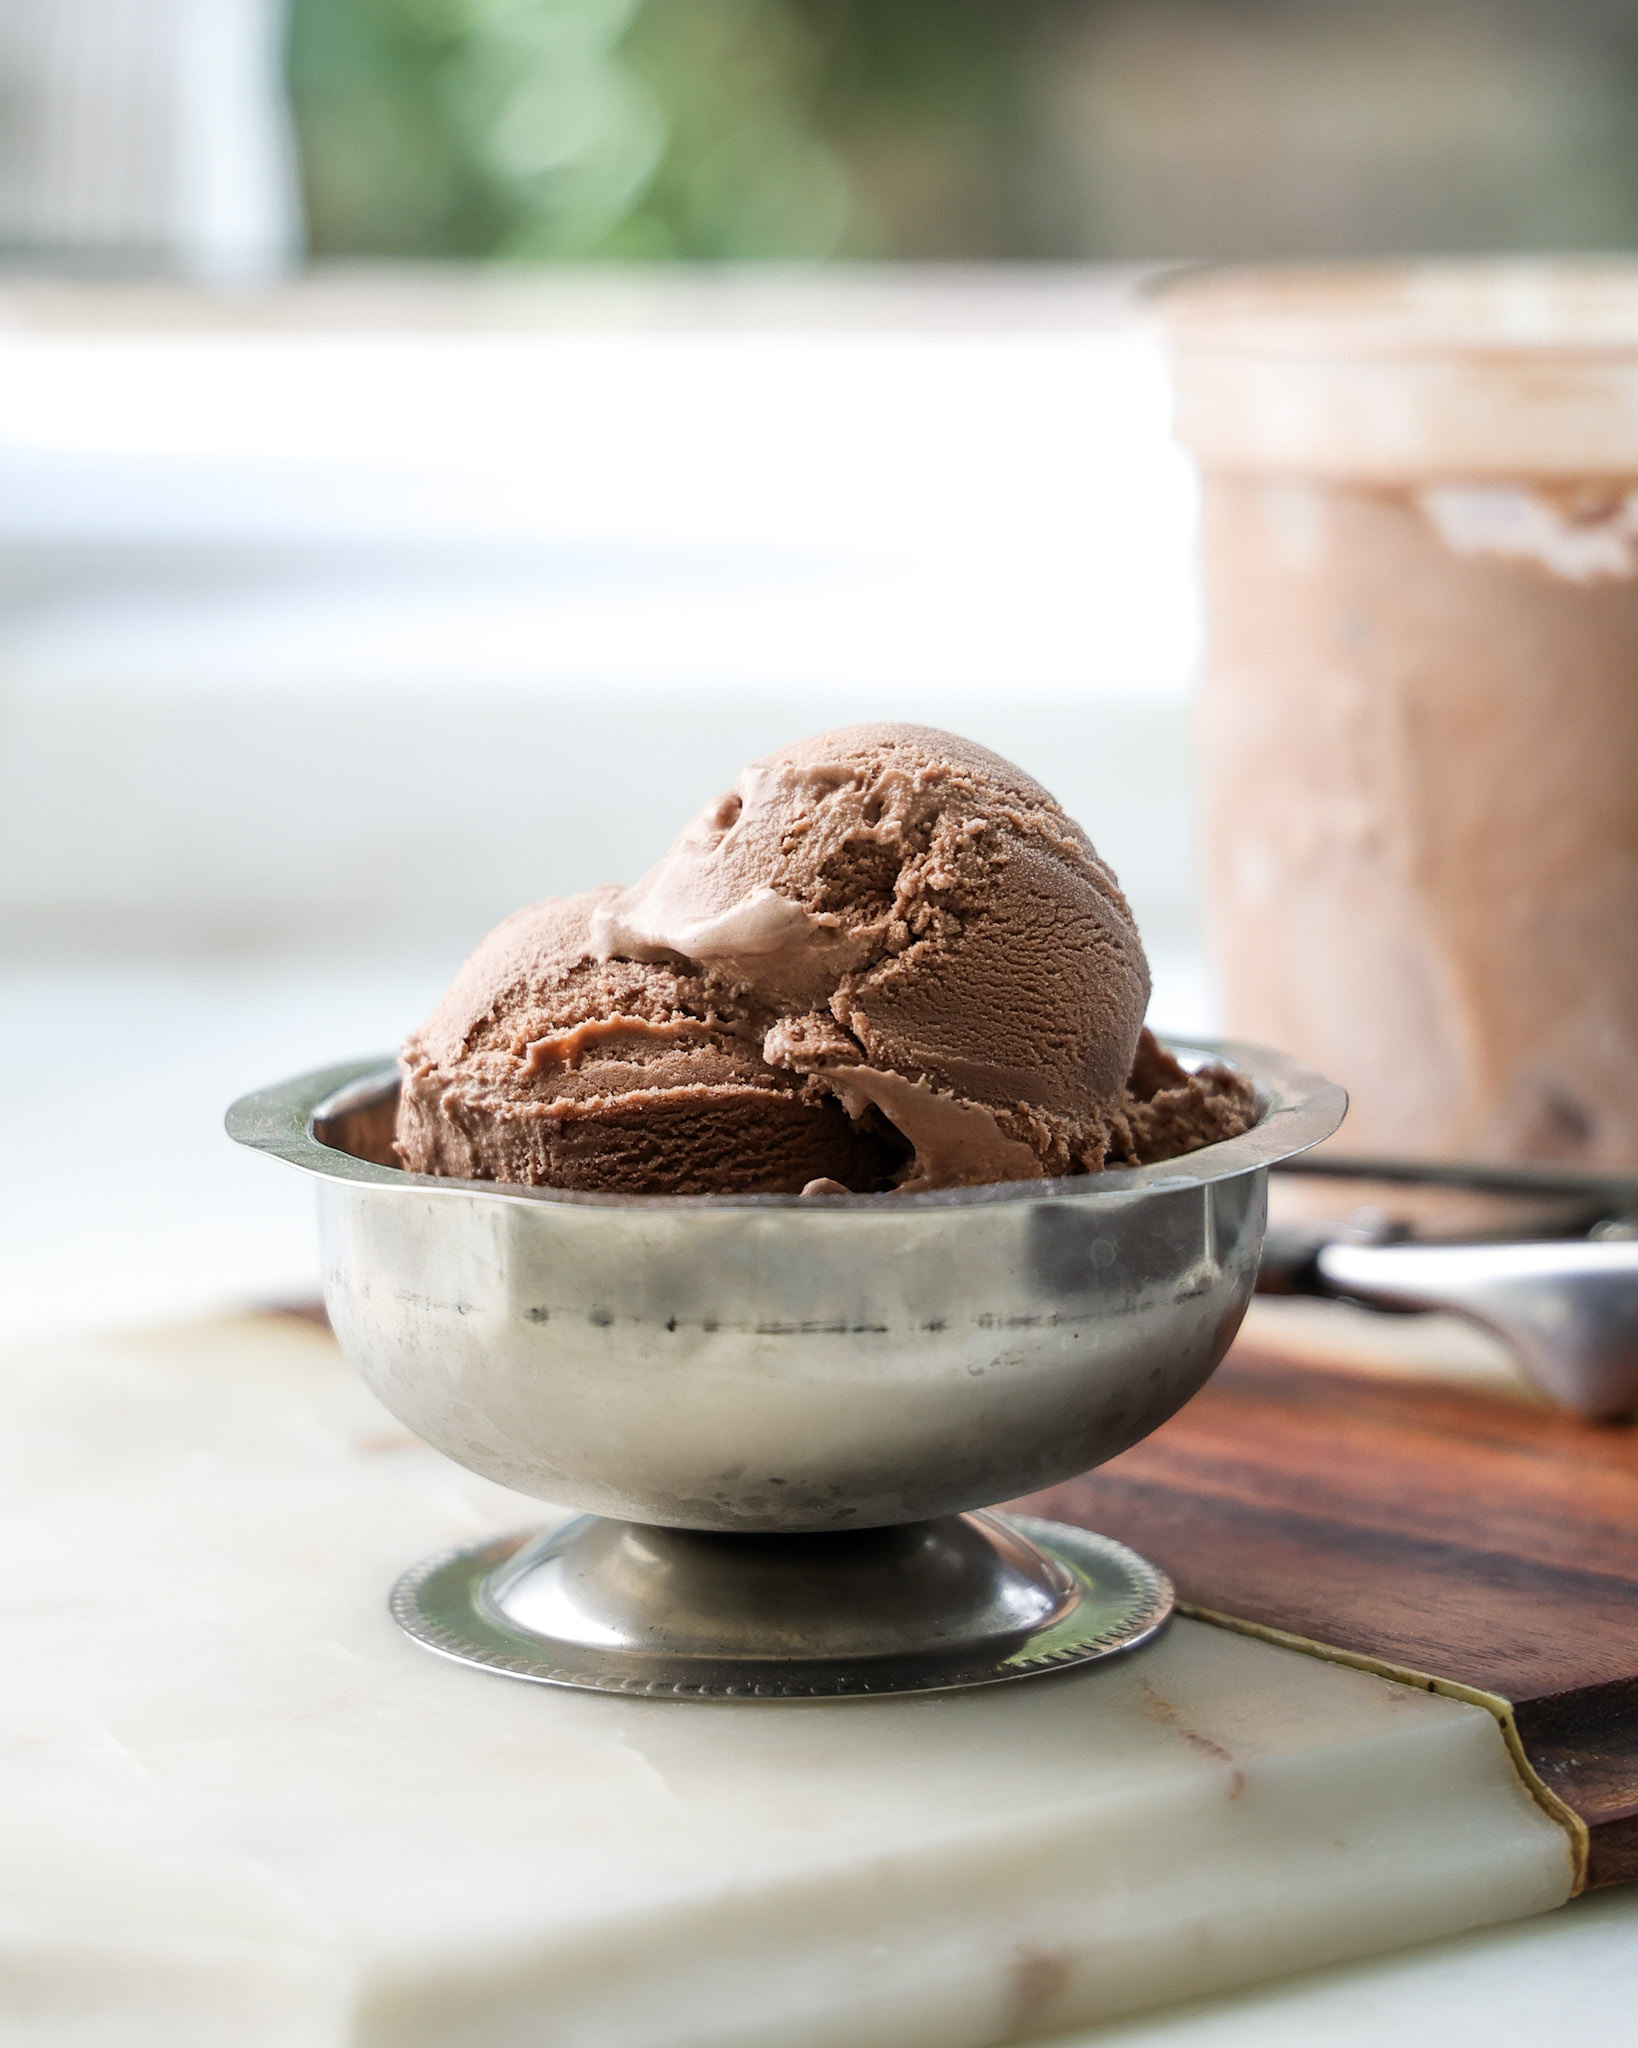
How to Make Chocolate Ice Cream with the KitchenAid Ice Cream Attachment
How to Make Ice Cream with the KitchenAid Ice Cream Attachment
And that’s it for How to Add Fruit to Ice Cream! If you have one at home, I hope this was helpful for you.
If you make it, please tag me on Pinterest or Instagram so I can see! It’s my favorite thing to scroll through stories and see what you all are making.
And of course, feel free to leave any questions, comments, or reviews! This is the best place to reach me, and I’d love to hear from you <3
Equipment
- 1 medium bowl
- 1 cling wrap
- 1 spatula
- 1 storage containers or any pan, dish or container suitable for holding the ice cream
Ingredients
- 4 large egg yolks
- 1/2 cup (110g) granulated sugar, divided
- 1 1/2 cups (360g) whole milk
- 1 1/2 cups (360g) heavy cream
- 1 1/2 cups (300g) fruit of choice
Instructions
- Place your KitchenAid Ice Cream Churner attachment in the back of the freezer to chill for 14-16 hours. (See Note)
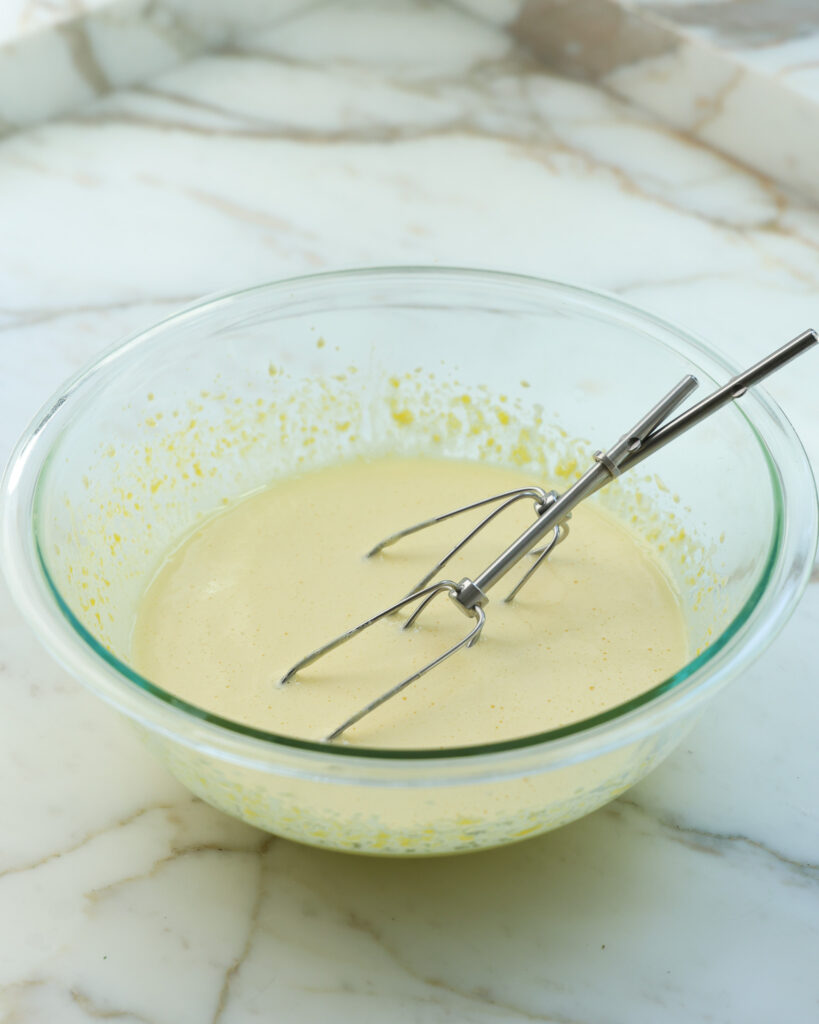
- In a medium bowl, whisk together 4 egg yolks and 55 grams of granulated sugar until the egg yolks are lightened to a pale yellow color and doubled in size.
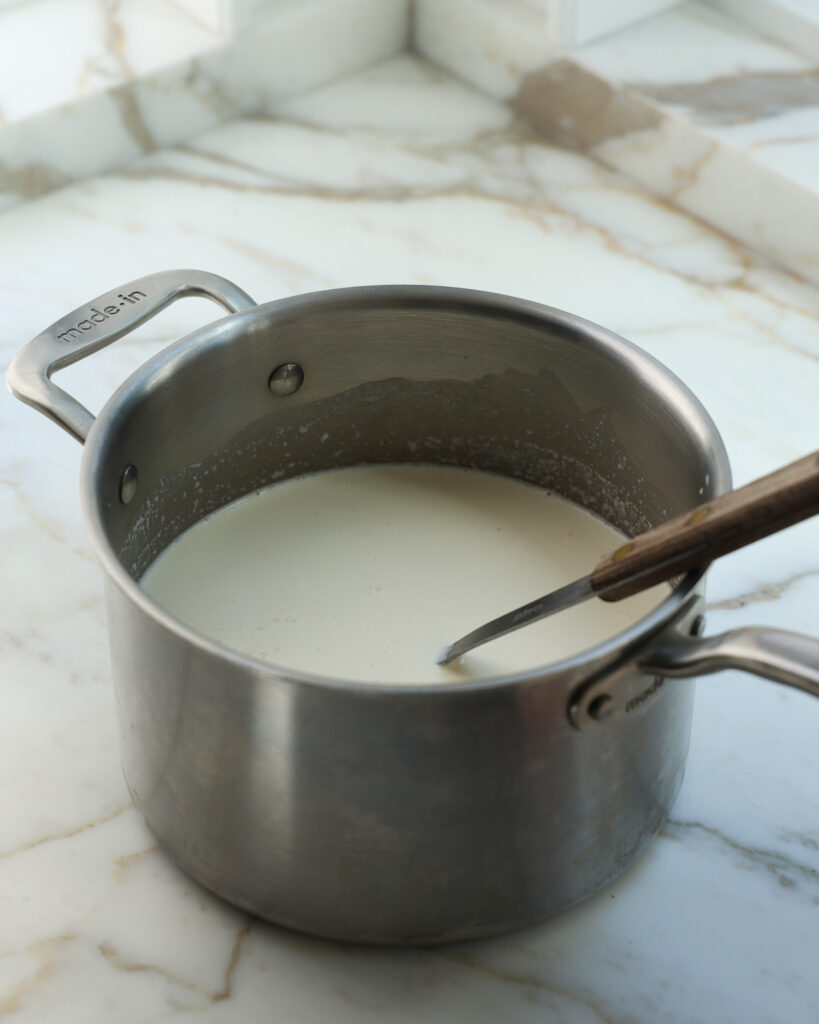
- In a medium sauce pot, add 360 grams of whole milk, 360 grams of heavy cream, and the remaining 55 grams of sugar. Stir to combine and place over medium heat. Stirring often, let this heat up until foamy or until it reads 165°F with an instant-read thermometer.
- Reduce the heat to low and scoop a 1/4 cup of the hot milk mixture into the egg yolks. Whisk it into the yolks to temper them. Do this three more times to heat up the yolks. Then pour the egg yolk mixture directly into the pot.
- Stirring constantly, increase the heat to medium-low and mix the custard until it can coat the back of a spoon and reads between 165-170°F on an instant-read thermometer.
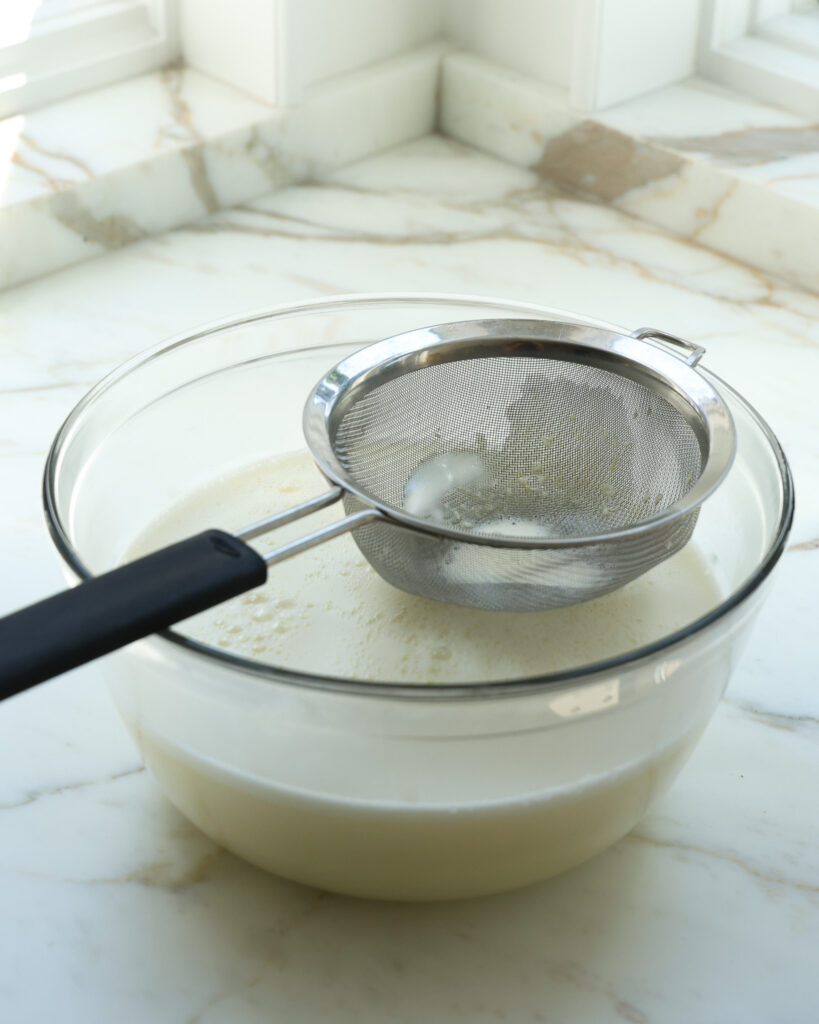
- Strain the custard through a mesh sieve into a bowl. To prevent a film from forming, directly place cling wrap on the surface to seal it. Cover the bowl and store in the freezer for 2 hours or the fridge for 12-16 hours to chill. If you're storing it in the freezer, check halfway through to ensure it didn't solidify.
- Now you can prepare your fruit. Preheat your oven to 325°F. Slice your fruit of choice into bite-sized pieces and scatter it onto a parchment-lined half sheet pan.
- Roast your fruit for 30-40 minutes, or until it mostly dried out but still soft. This will vary depending on your fruit, so just look for at least 50% of the excess moisture to be released.
- When the fruit has roasted, transfer it to a small bowl and leave any remaining liquid on the sheet pan. Cover and store in the fridge until you are ready to make your ice cream.
- When you are ready to churn, take the custard base out of the fridge. If you want a smooth ice cream, blend 1 cup of the custard base with the fruit until smooth. Mix this back with the remaining custard base. If you don't mind a few chunks of fresh fruit, skip this step.
- Add the custard to your churner along with the fruit. Churn on the stir setting for 20-30 minutes, or until the ice cream is thick and the texture of soft serve.
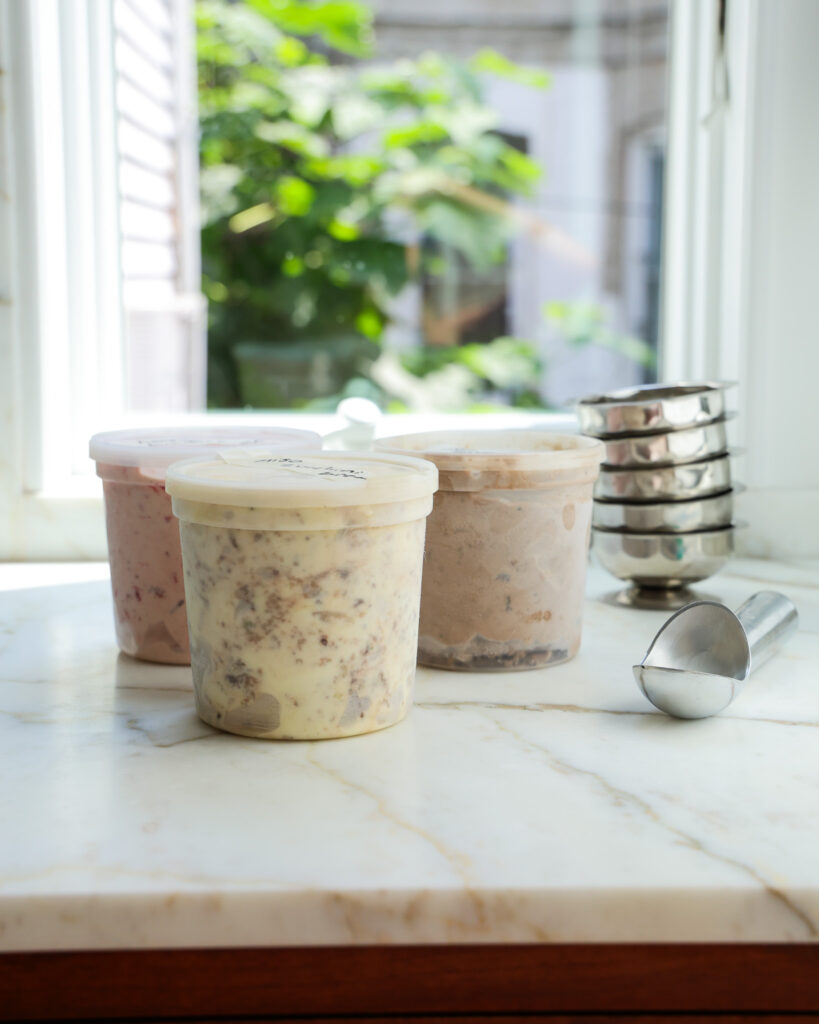
- Transfer the ice cream from the churner to your preferred container. I love plastic deli quart containers for this. Cover and freeze another 2-3 hours, then it is ready to scoop and serve.

Comments
Can you give me more tips and i love you
Very curious on your recommendations for adding rhubarb. I’d love to make a strawberry rhubarb crumble ice cream. Do you think it’s better to roast the strawberries and rhubarb? Or perhaps make a compote first and then stir that in?
I’d suggest roasting. A compote will have more moisture, which could impact the texture and iciness of the ice cream.
Leave a Comment
Made this recipe? Tell me all your thoughts or if you’ve got any questions!