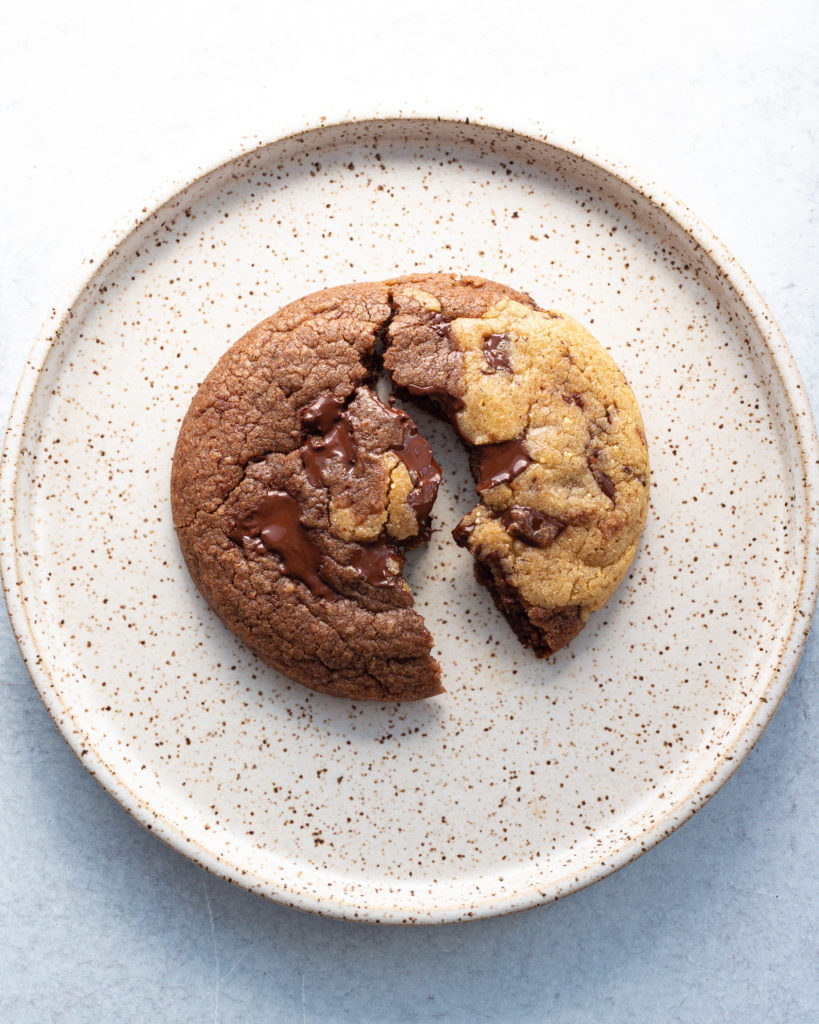
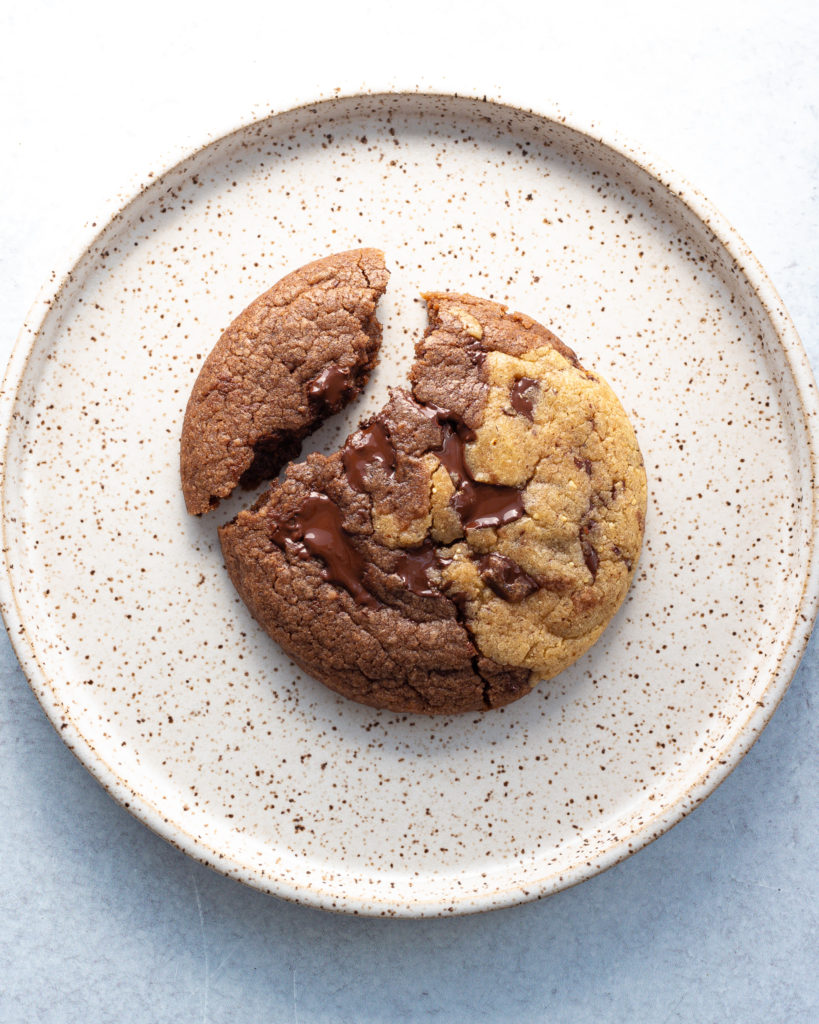
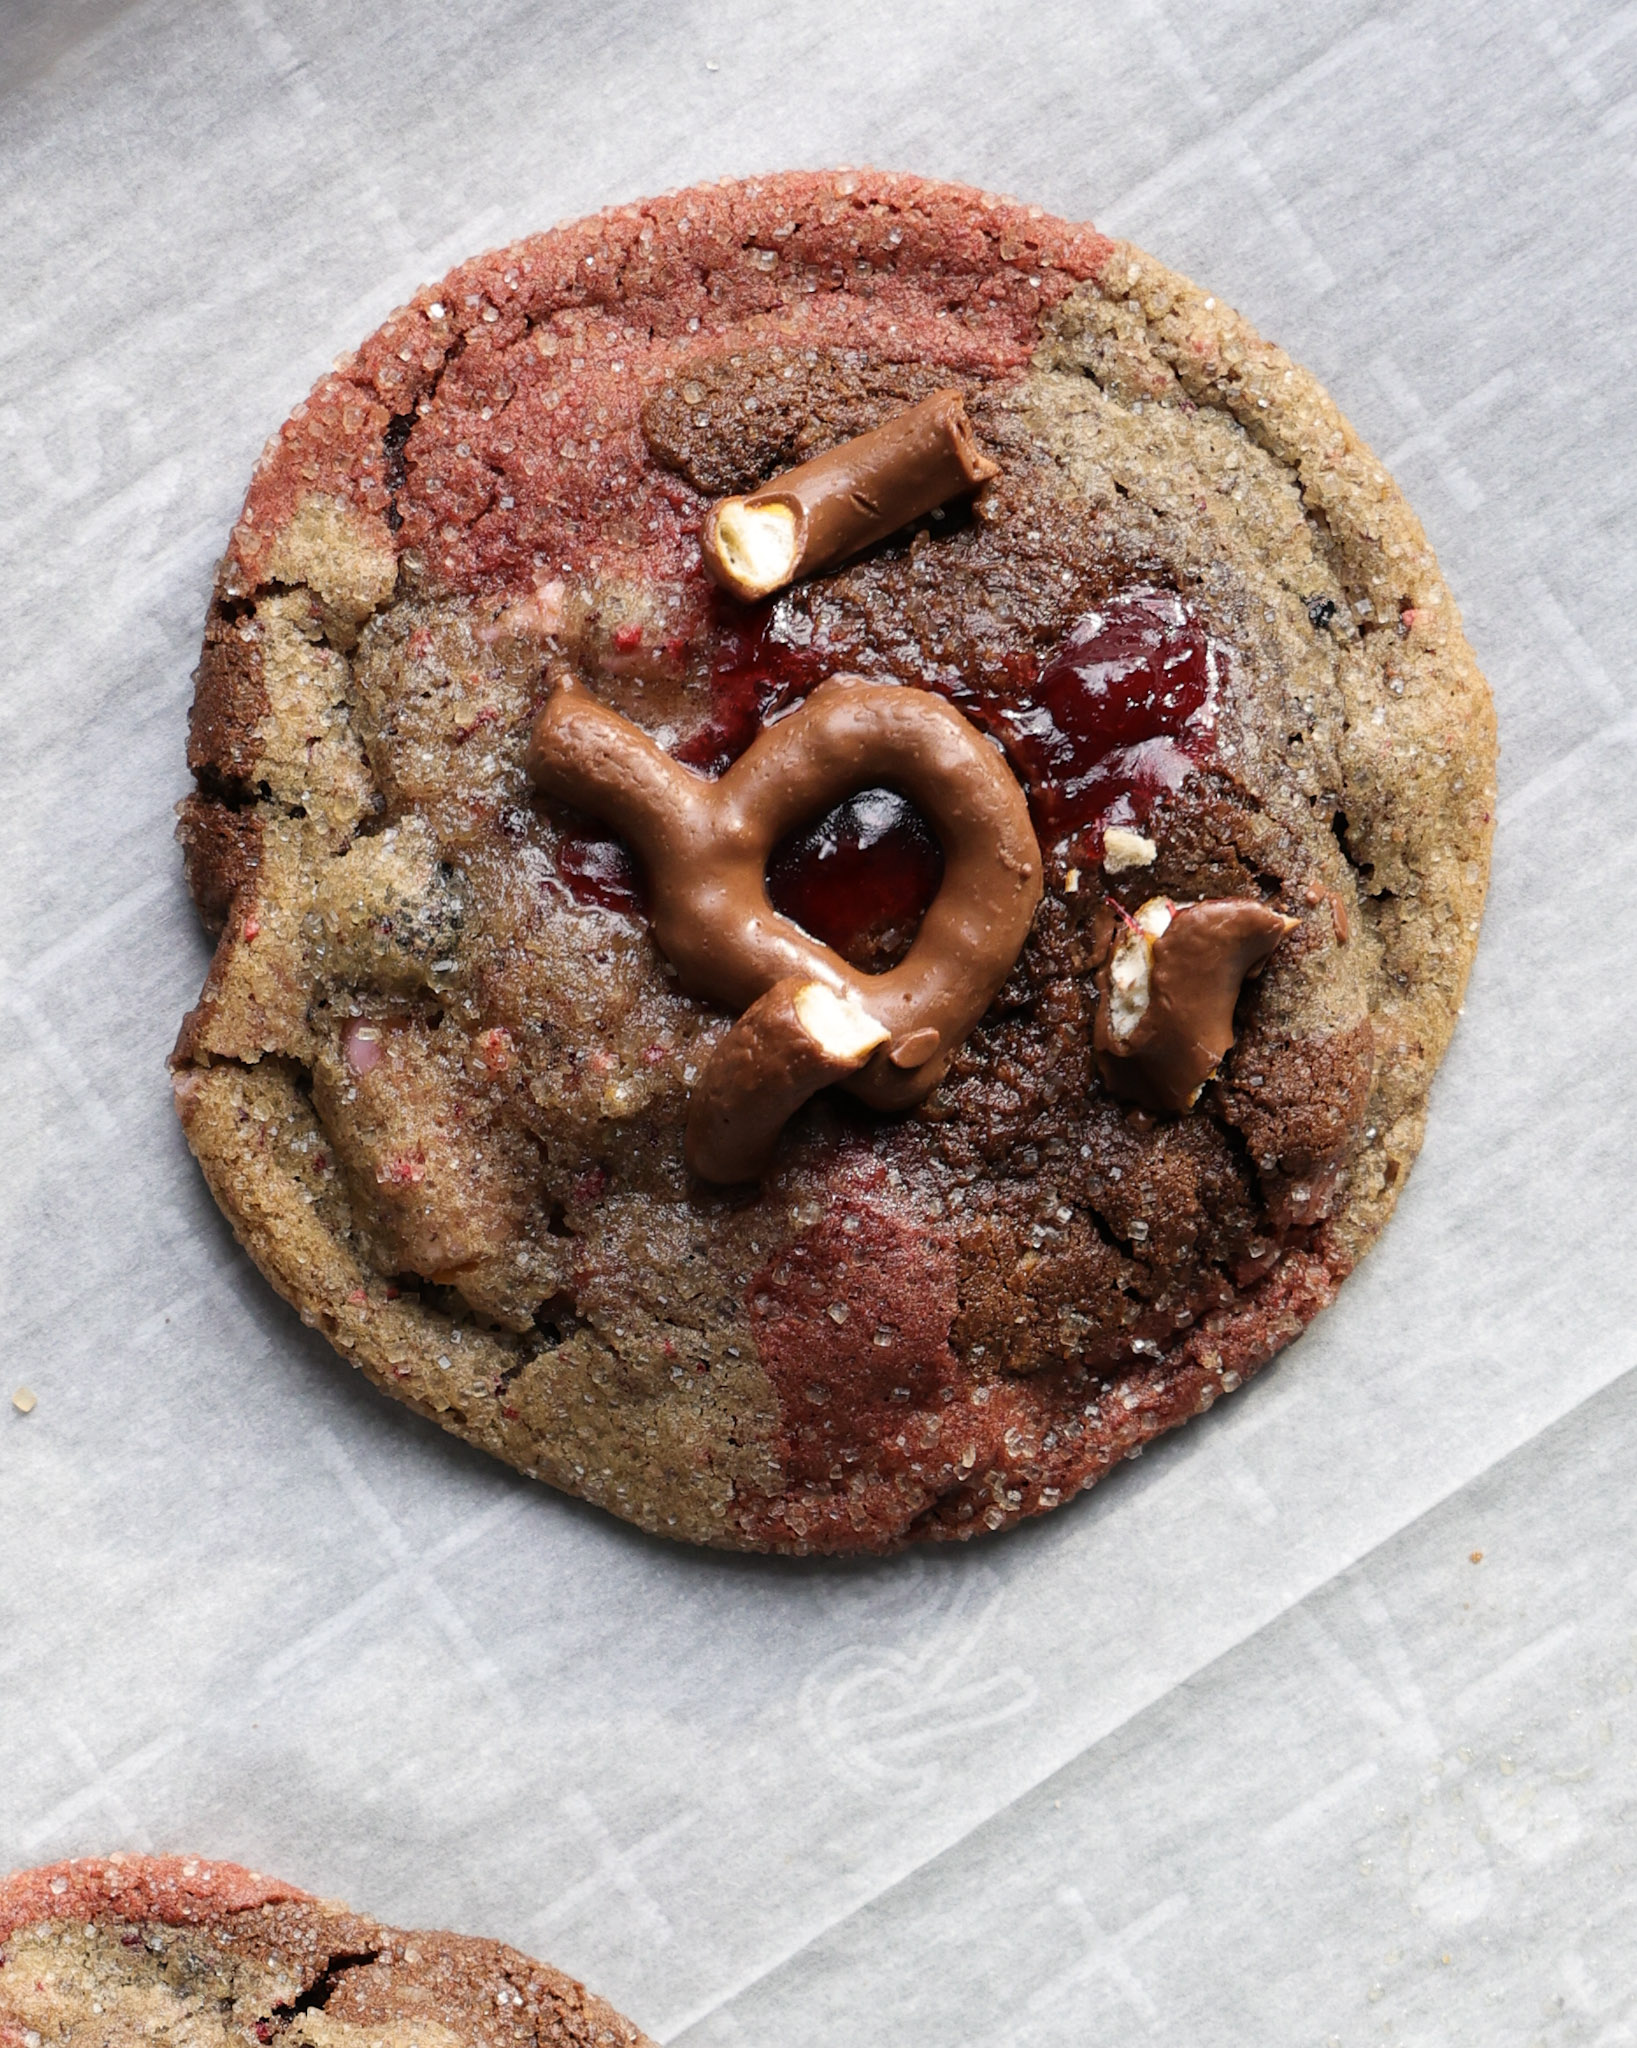
There’s a reason these Chocolate and Peanut Butter Marble Cookies are a staple in my house. My husband, Eric, LOVES them. They essentially were made for him. Like literally, I made this recipe because he can’t get enough of Ben & Jerry’s Tonight Dough, and these cookies felt like the next best thing. He loves all my cookies, but these are his favorite!
They are a hybrid of a brownie cookie and a peanut butter cookie, with tons of chocolate chips interlaced. Of course, they contain brown butter (the best cookies always do) and they are big, somewhat soft and definitely chewy.
These cookies are a love letter, and I hope you love them as much as Eric does. But believe me, he’ll always have dibs.
Table of contents
- Ingredients for this chocolate peanut butter marble cookie
- How to make the brown butter
- How to temper your brown butter
- Dividing the doughs into two bowls
- How to make the brownie cookie dough
- How to make the peanut butter cookie dough
- How to make these chocolate peanut butter marble cookies
- How to cool and store these chocolate peanut butter marble cookies
- FAQ
- Why is this recipe in grams?
- Looking for other cookie recipes?
Ingredients for this chocolate peanut butter marble cookie
The ingredients mirror each other for each cookie “side,” but there are a few slight tweaks to each recipe. Here is everything you’ll need for these marble cookies:
For both:
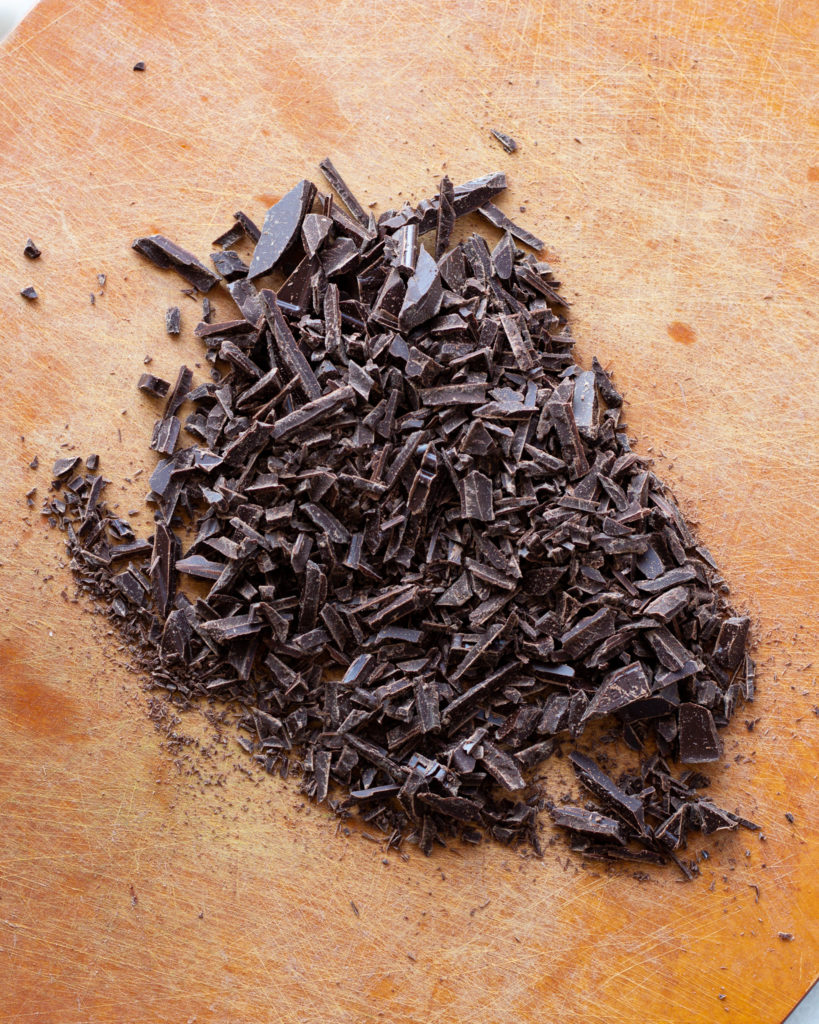
- 113 grams 70% cocoa chocolate, chopped
- 1 cup (226g) salted butter
For the brownie cookie:
- 1/2 cup and 2 tablespoons (118g) brown sugar, packed
- 1 tablespoon milk of choice
- 1 large egg, room temperature
- 1/4 cup (50g) granulated sugar
- 1 1/3 cup (175g) all-purpose flour
- 2 tablespoons dutch process cocoa powder
- 1 1/2 teaspoon baking powder
- 1/4 teaspoon Diamond Crystal kosher salt
For the peanut butter cookie:
- 1 tablespoon milk of choice
- 1/2 cup and 2 tablespoons (118g) brown sugar, packed
- 1 large egg, room temperature
- 1/3 cup (75g) creamy peanut butter
- 1/4 cup (50g) granulated sugar
- 1 1/3 cup and 1 tablespoon (183g) all-purpose flour
- 1 1/2 teaspoon baking powder
- 1/4 teaspoon Diamond Crystal kosher salt
How to make the brown butter
When you brown butter, you are essentially toasting the milk solids until they darken and deepen in color, lending rich caramelization flavor in the cookie.
To brown the butter, it’s best to put a skillet or saucepan over medium-low heat and melt the butter until it is golden yellow. Stir constantly to prevent the butter from scorching.
Continue to cook down the butter until the mixture starts to fizz slightly. Stir constantly as the butter begins to brown. When it gets to a golden brown color, remove from the heat and keep stirring until you get a rich dark brown color. Pour this into a large bowl.
Then you’re ready for the next step!
How to temper your brown butter
The next step is tempering the brown butter. You do this before adding the egg to ensure that the egg doesn’t curdle. This would only happen if the butter was still hot, so you add milk for extra richness in the recipe, as well as a way to bring the heat down in the brown butter.
To temper the butter in this recipe, first divide the butter evenly into two large bowls. Add 1 tablespoon of milk into each bowl and whisk together until the butter is a light golden color.
If the mixture feels around room temperature, then it’s time for the sugar and the egg.
Dividing the doughs into two bowls
I mentioned this briefly above, but we started by browning one large amount of butter, and for the rest of the recipe we will be working in two bowls.
Since butter loses moisture as it browns, you’ll have less butter than when you first started. So each bowl will get about 100 grams of brown butter.
After the butter is split up and tempered, add the sugars to both bowls, but then add the peanut butter to just one bowl.
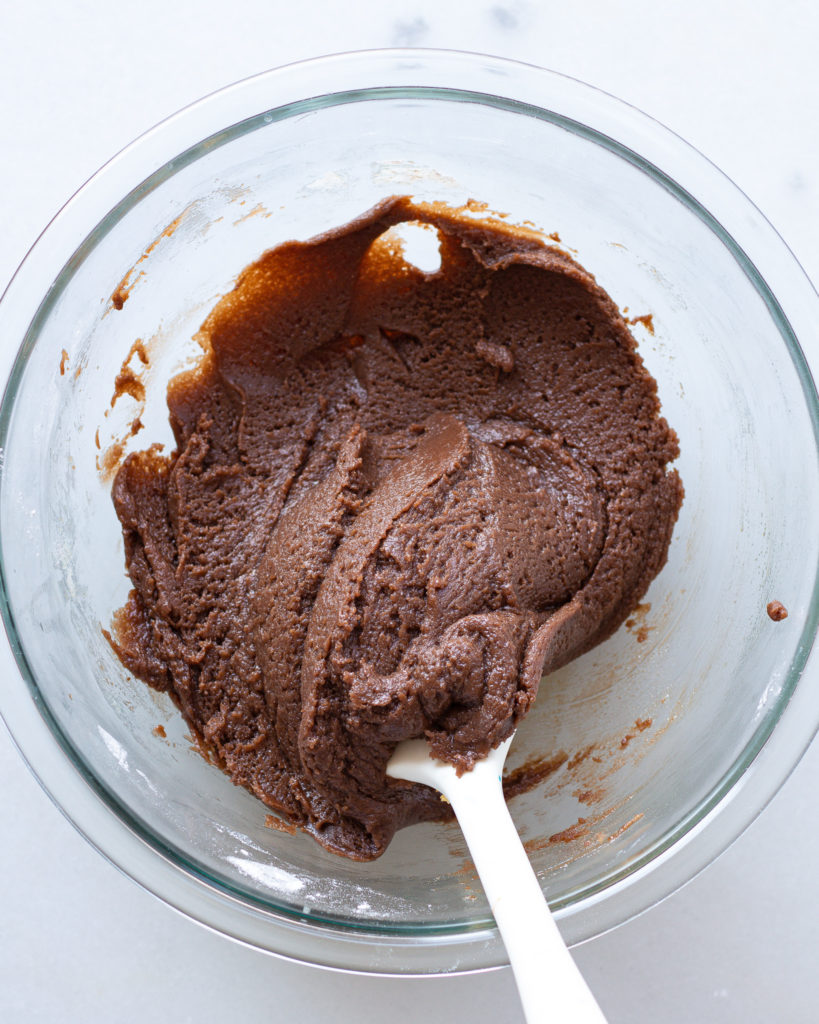
How to make the brownie cookie dough
For the brownie cookie dough, you’ll want to add Dutch process cocoa powder along with the dry ingredients.
Dutch process cocoa powder has a much darker and richer flavor than baker’s cocoa or even cacao. This ingredient is integral to getting that rich, brownie-like taste but with only 2 tablespoons of cocoa. So don’t skip it!
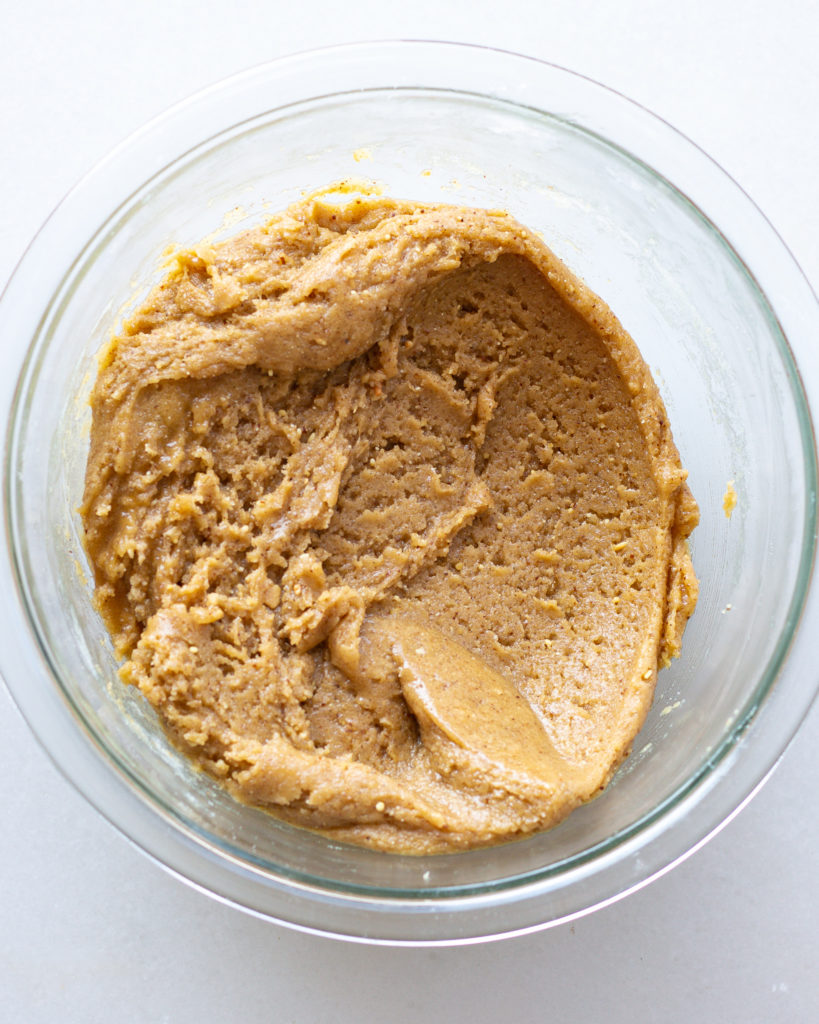
How to make the peanut butter cookie dough
The peanut butter cookie dough is simple. Just add the peanut butter to the wet ingredients, mix well and add in the rest of the dry.
The peanut flavor is subtle but there, and the color and richness is perfect in the cookie.
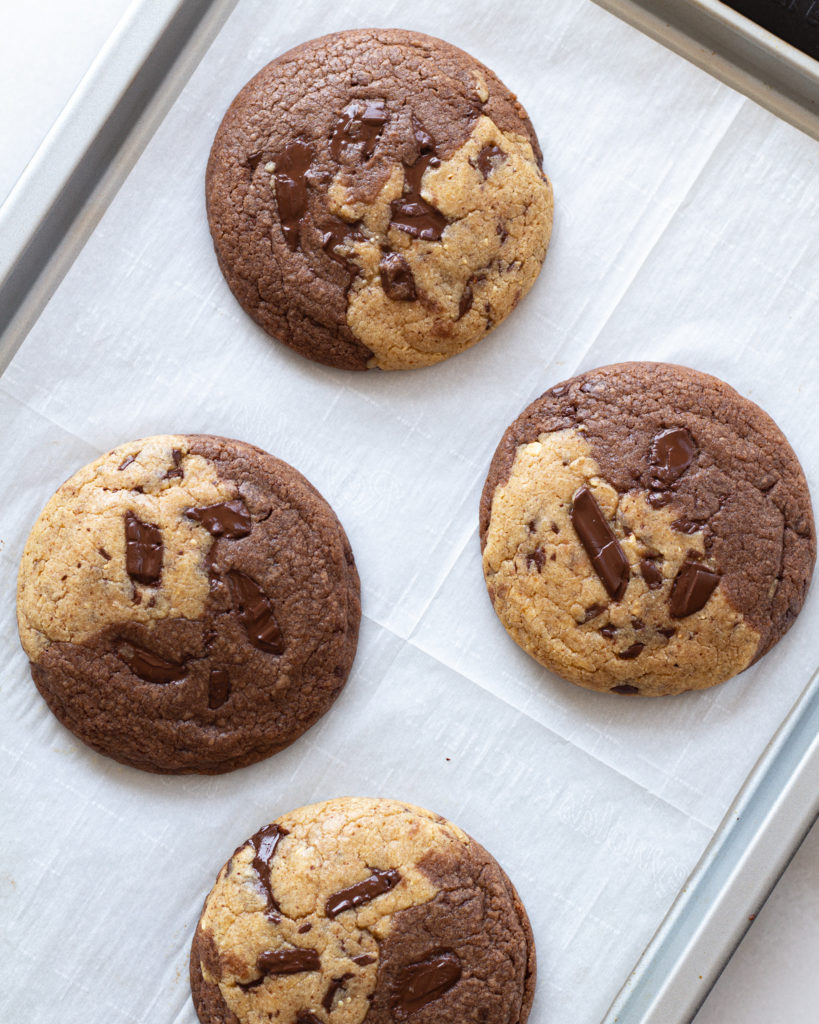
How to make these chocolate peanut butter marble cookies
Here’s a full (and DETAILED) step-by-step of how to make these cookies and mold them together!
- Add the 1 cup of butter (2 sticks) to a saucepan over low heat and melt the butter fully. Raise the heat to medium, stirring occasionally, until it starts to fizz slightly. Continue to stir until you see the milk solids turn a toasty brown.
- Divide the butter evenly into two large bowls. Since moisture has cooked off during the browning process, each bowl should contain about 100 grams of brown butter.
- Add 1 tablespoon of milk to each bowl and whisk to temper the butter. Let it cool for a few more minutes.
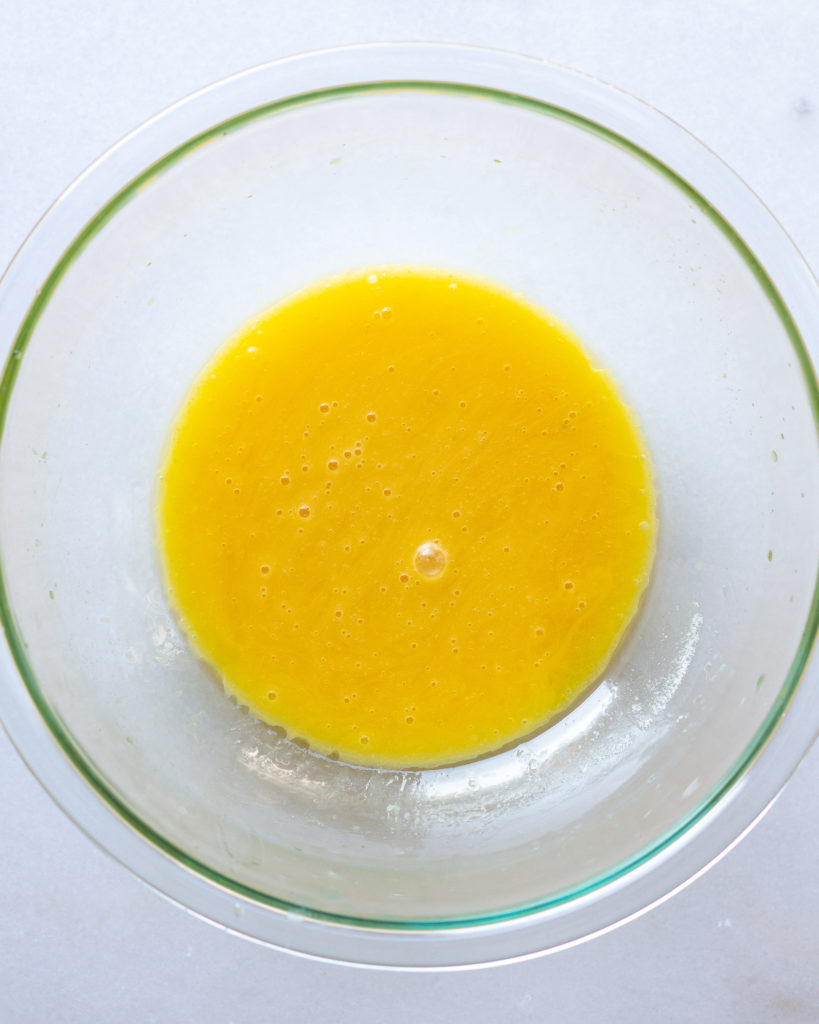
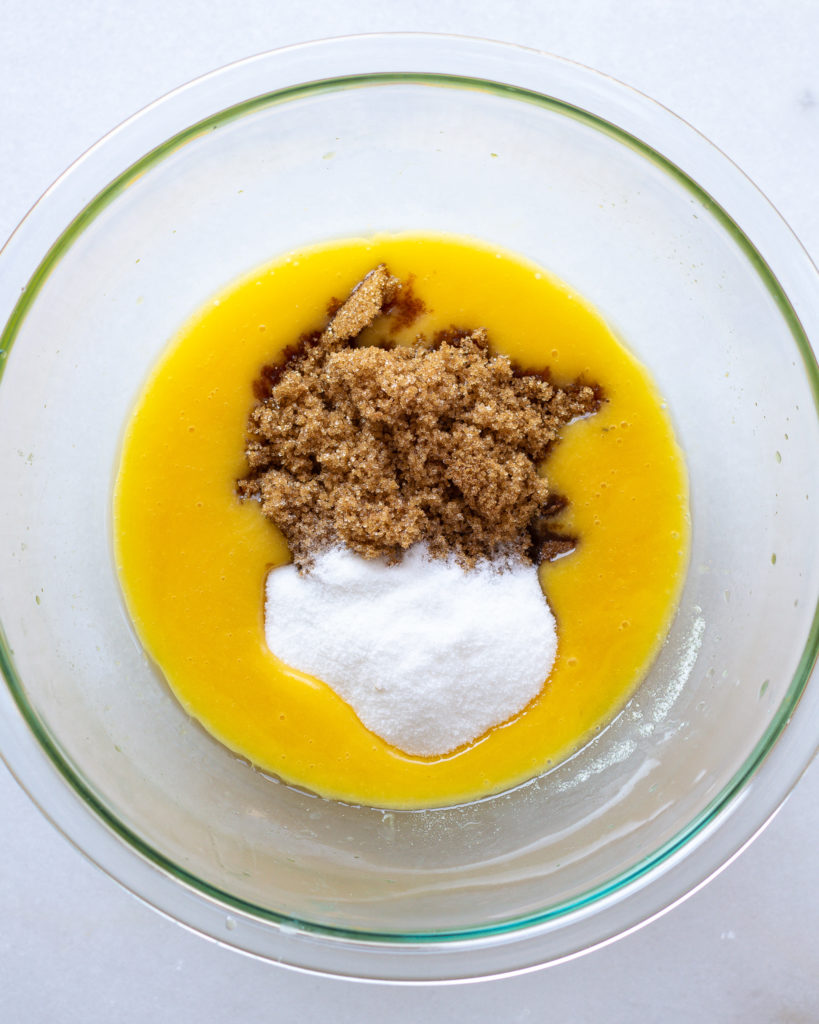
- Whisk one egg into each bowl. Then add the sugars and whisk again.
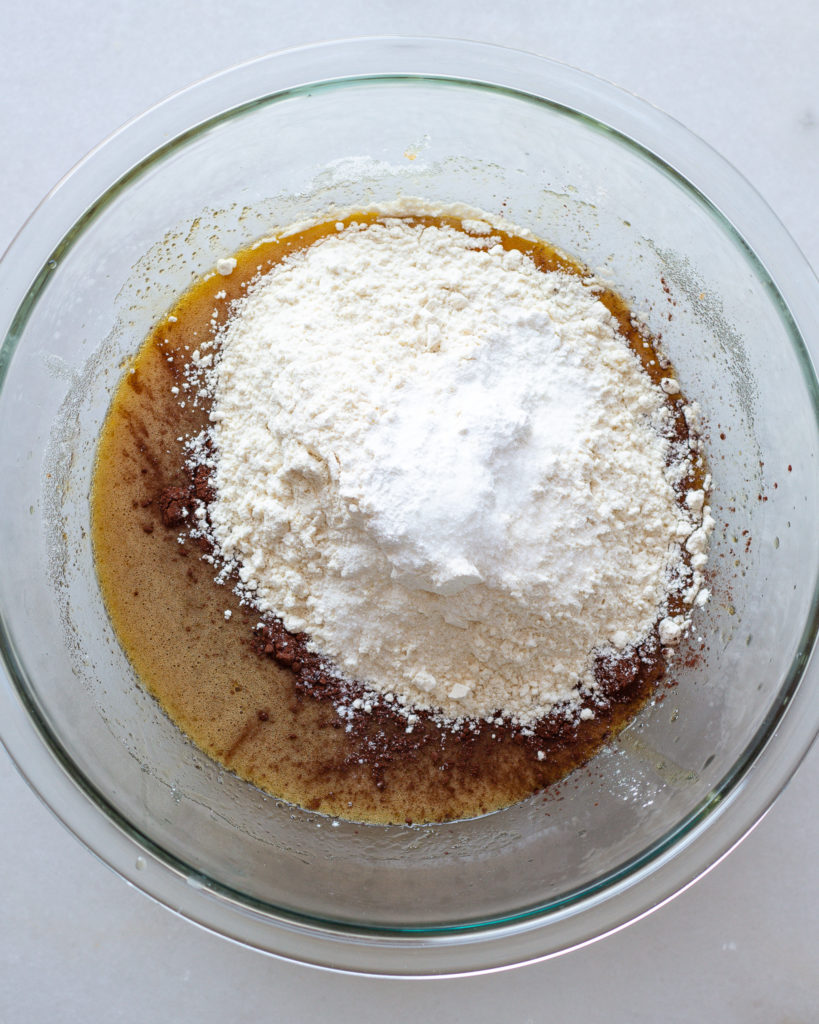
- For the chocolate batter, add in the flour, cocoa powder, baking powder and salt to one bowl. Stir to combine.
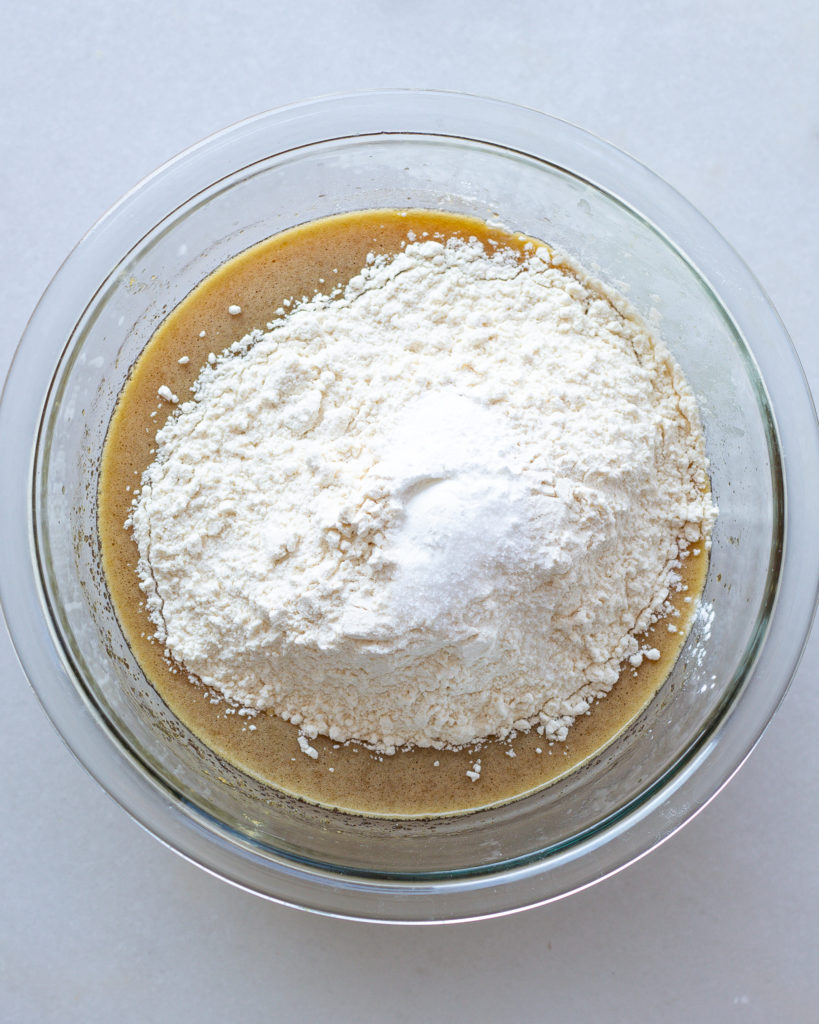
- For the peanut butter, whisk in the peanut butter to the second bowl, then add the flour, baking powder and salt. Stir to combine.
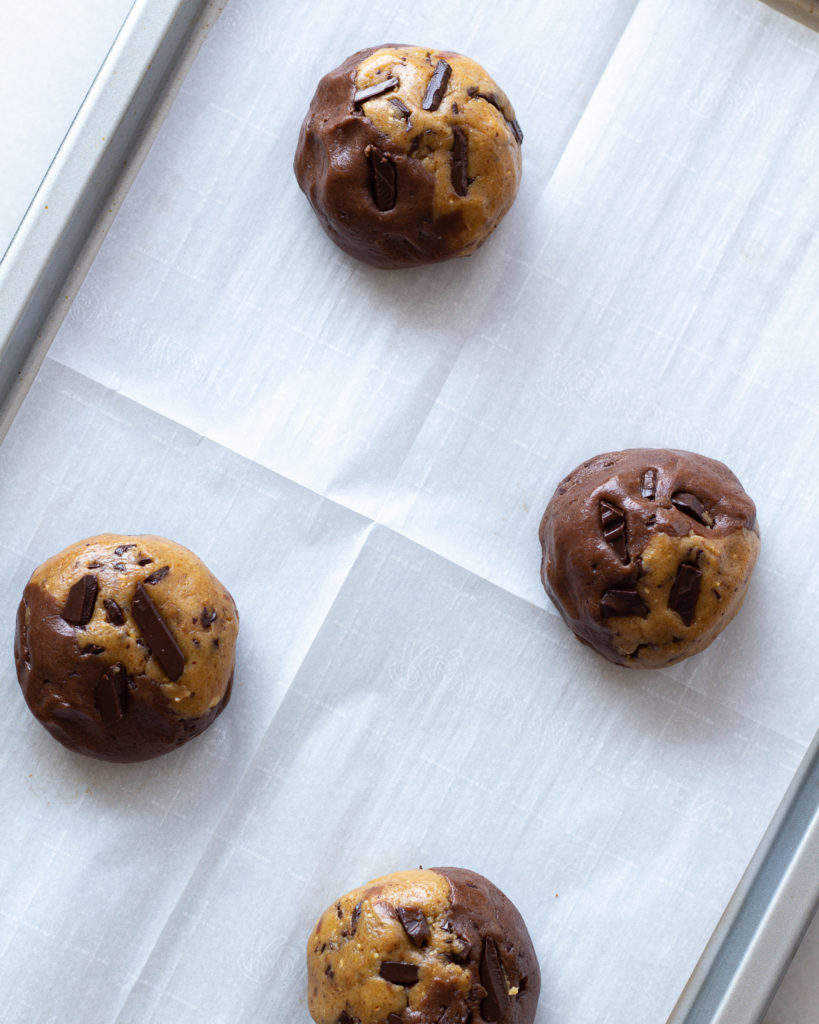
- Split the chocolate evenly between the cookies.
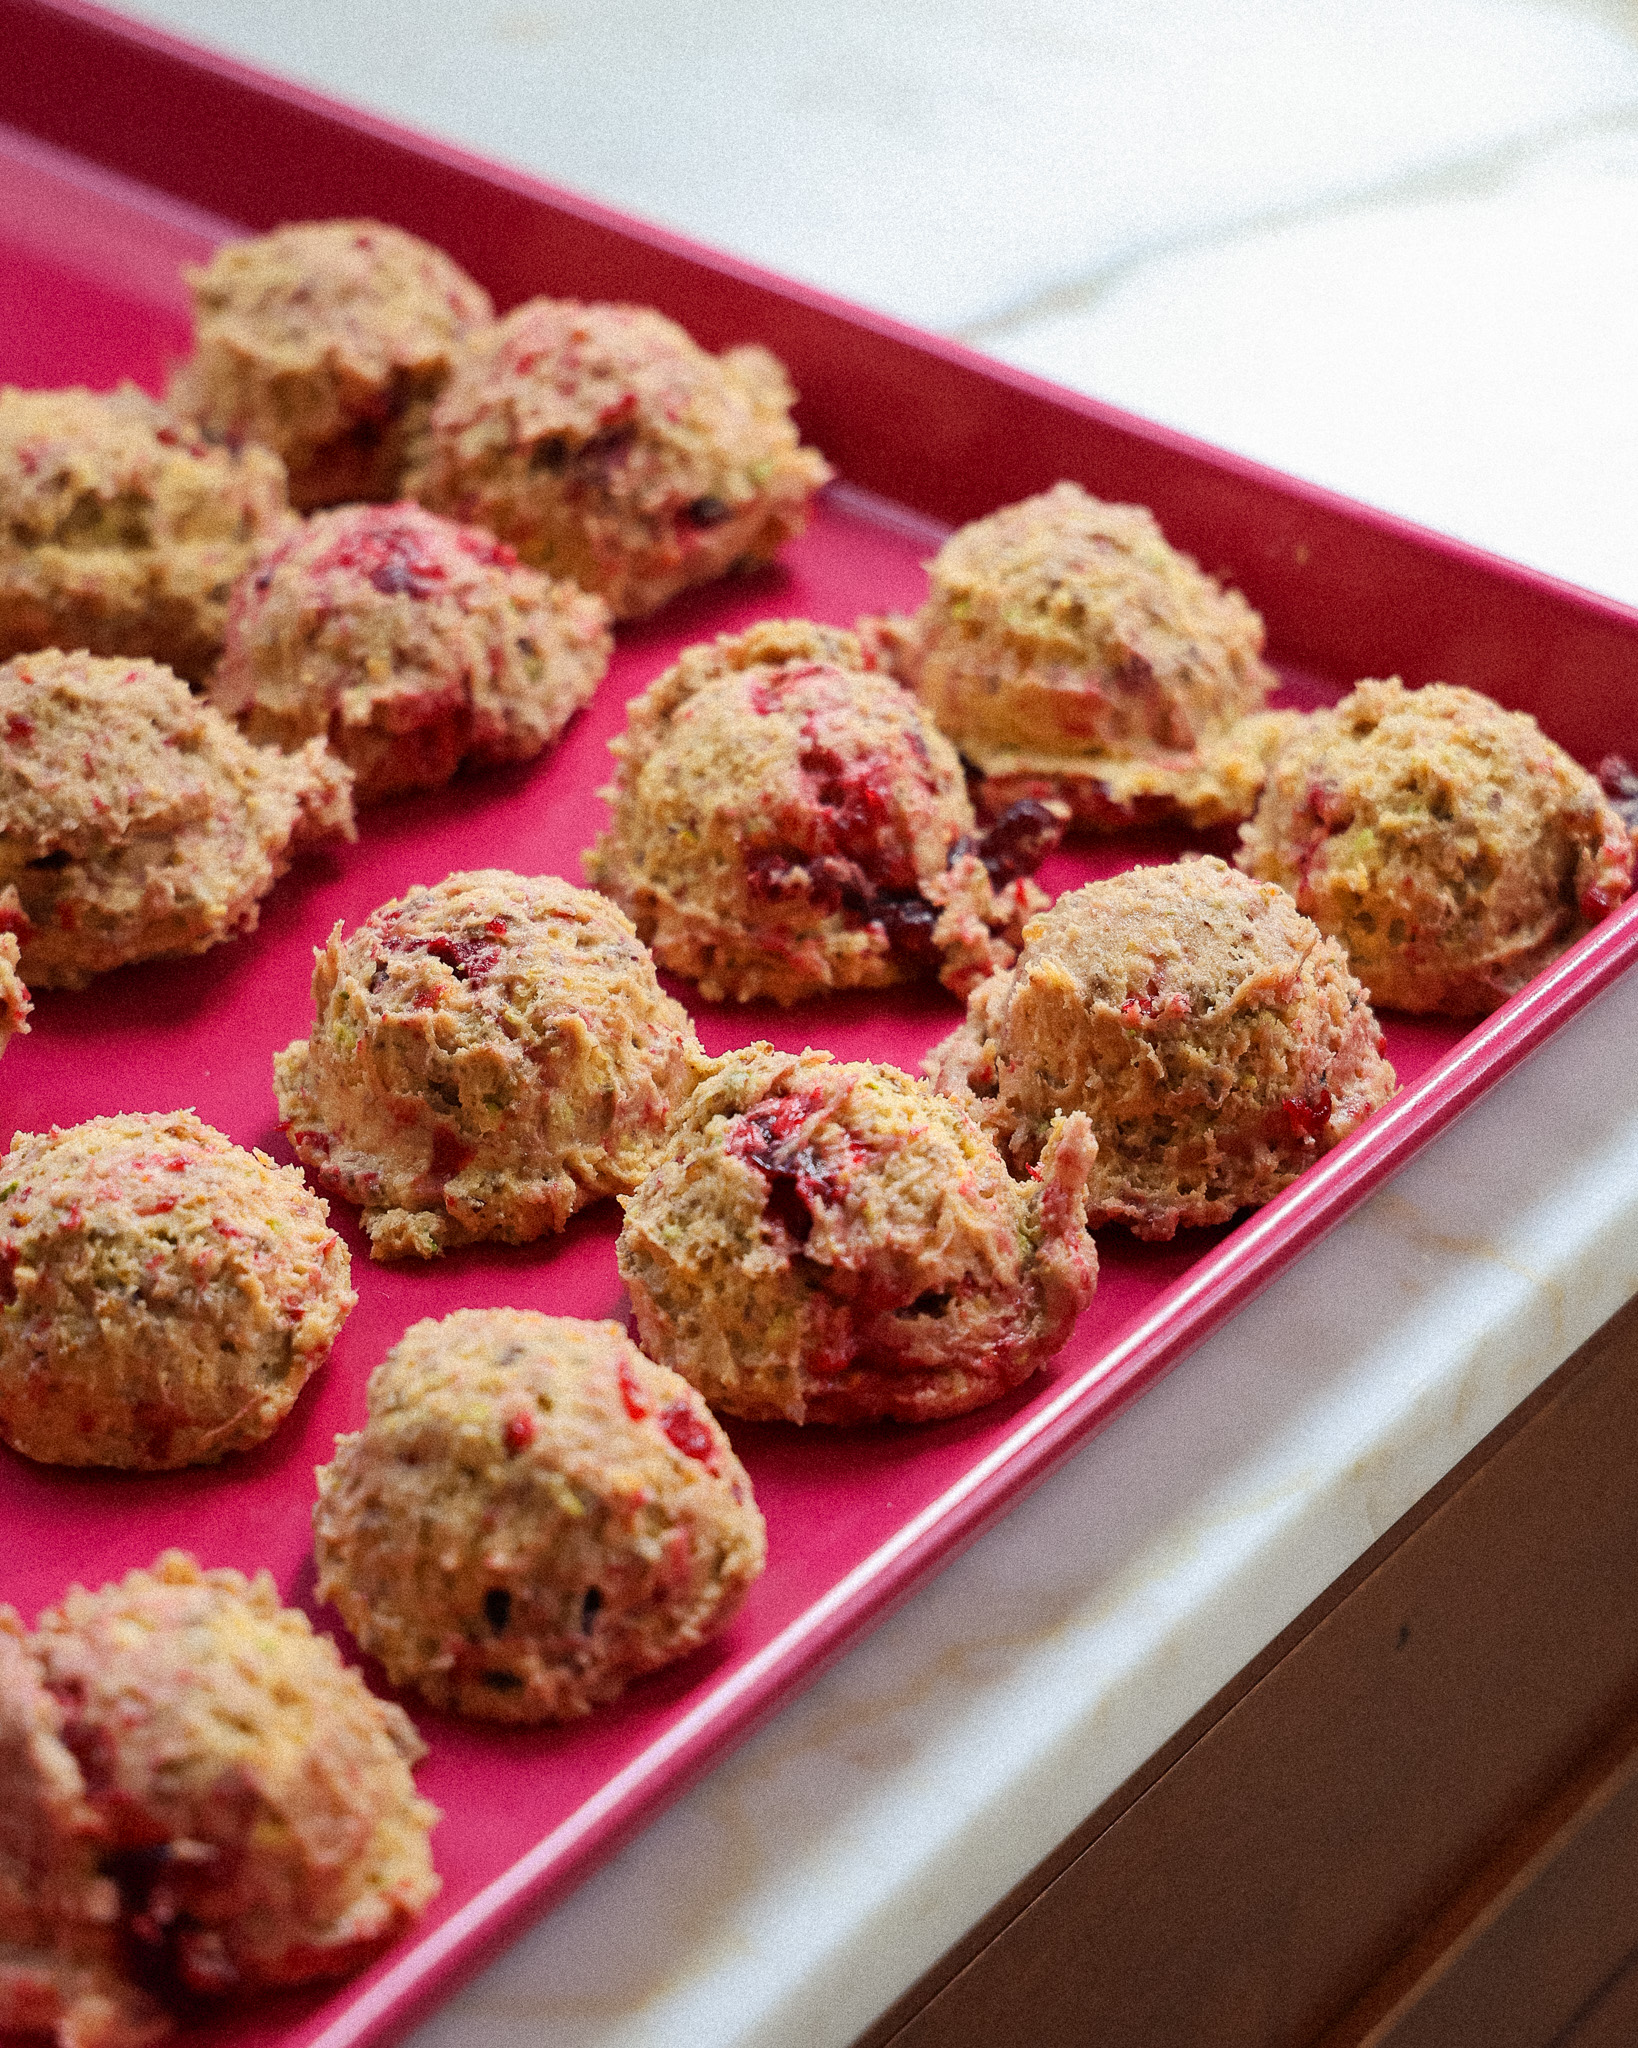
- Scoop out 1 1/2 tablespoons of each dough. Roll the dough together to create 10 large “marble” balls.
- Place the cookie dough balls on a parchment-lined baking sheet and chill in the refrigerator while you preheat the oven to 350°F.
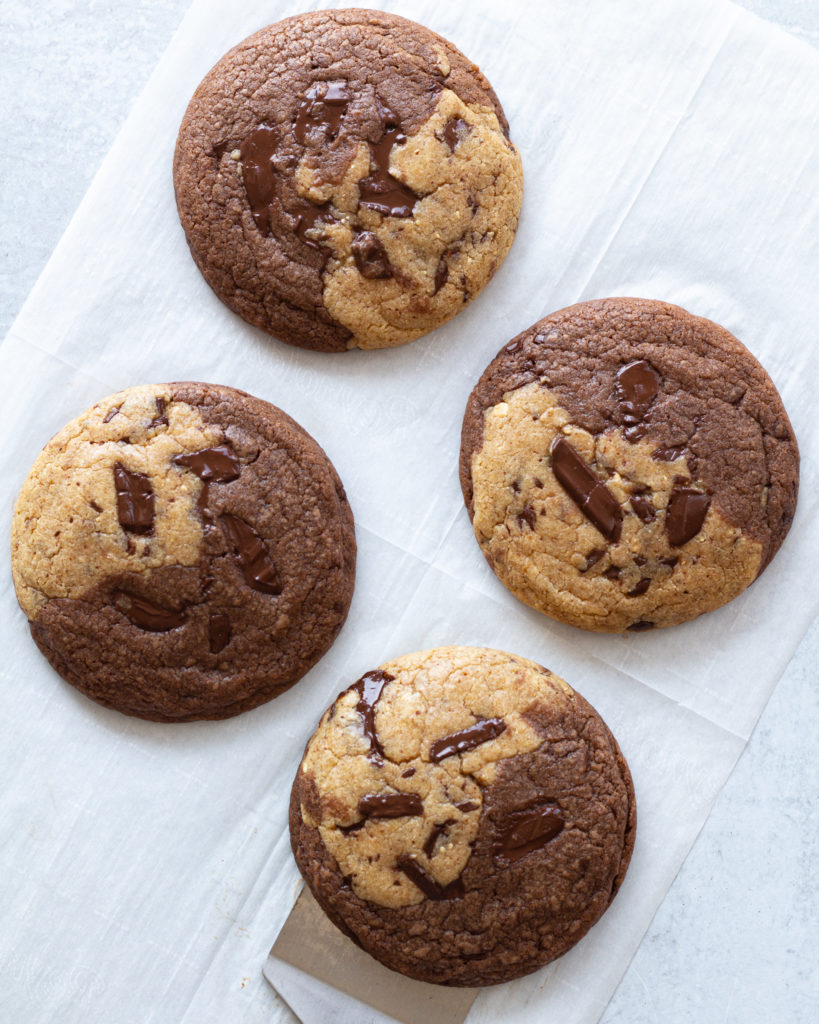
- Bake for 10-12 minutes at 350°F. The key is to remove the cookies before they look fully done. They will continue to “cook” outside of the oven, so this method helps them maintain the chewy texture.
- Let cool and serve!
How to cool and store these chocolate peanut butter marble cookies
The key to these cookies is how you cool them. Or don’t cool them, in that regard.
I always recommend taking cookies out of the oven before they look fully “done.” This is because these chocolate peanut butter marble cookies continue to cook from residual heat when they are out of the oven, so pulling them out early ensures they stay moist and chewy in the center.
From there, you can either store them in the fridge right away or on the counter. In both circumstances, I recommend using an air-tight container and keeping the cookies in a dry place.
FAQ
Excitingly – yes! Miyokos Creamery has one of my absolute FAVORITE butter for vegan butter “browning.” So use 1 cup of that vegan butter, and then substitute in 1 flax egg (1 tablespoon flax + 2.5 tablespoons water) for each egg.
Absolutely. I only used peanut butter because (surprise) it’s Eric’s favorite. But you can use almond butter, sunflower butter, or even tahini!
They will keep in the fridge for up to two weeks! It’s a great option for long-term storage.
Why is this recipe in grams?
Grams is always my preference for baking, and I hope it will be yours, too. The only way to ensure complete accuracy is through measuring by weight, not volume. One cup of flour can weigh all the way from 120 grams to 160 grams, depending on how it was packed. This ends up causing some volatility and mismatched results.
I want to ensure you get the best results with this recipe (and I want to keep this recipe foolproof!) so I highly recommend getting a small affordable kitchen scale if you want to move forward with this particular recipe.
Looking for other cookie recipes?
You’ve come to the right place. Here are a few other popular favorites from the blog!
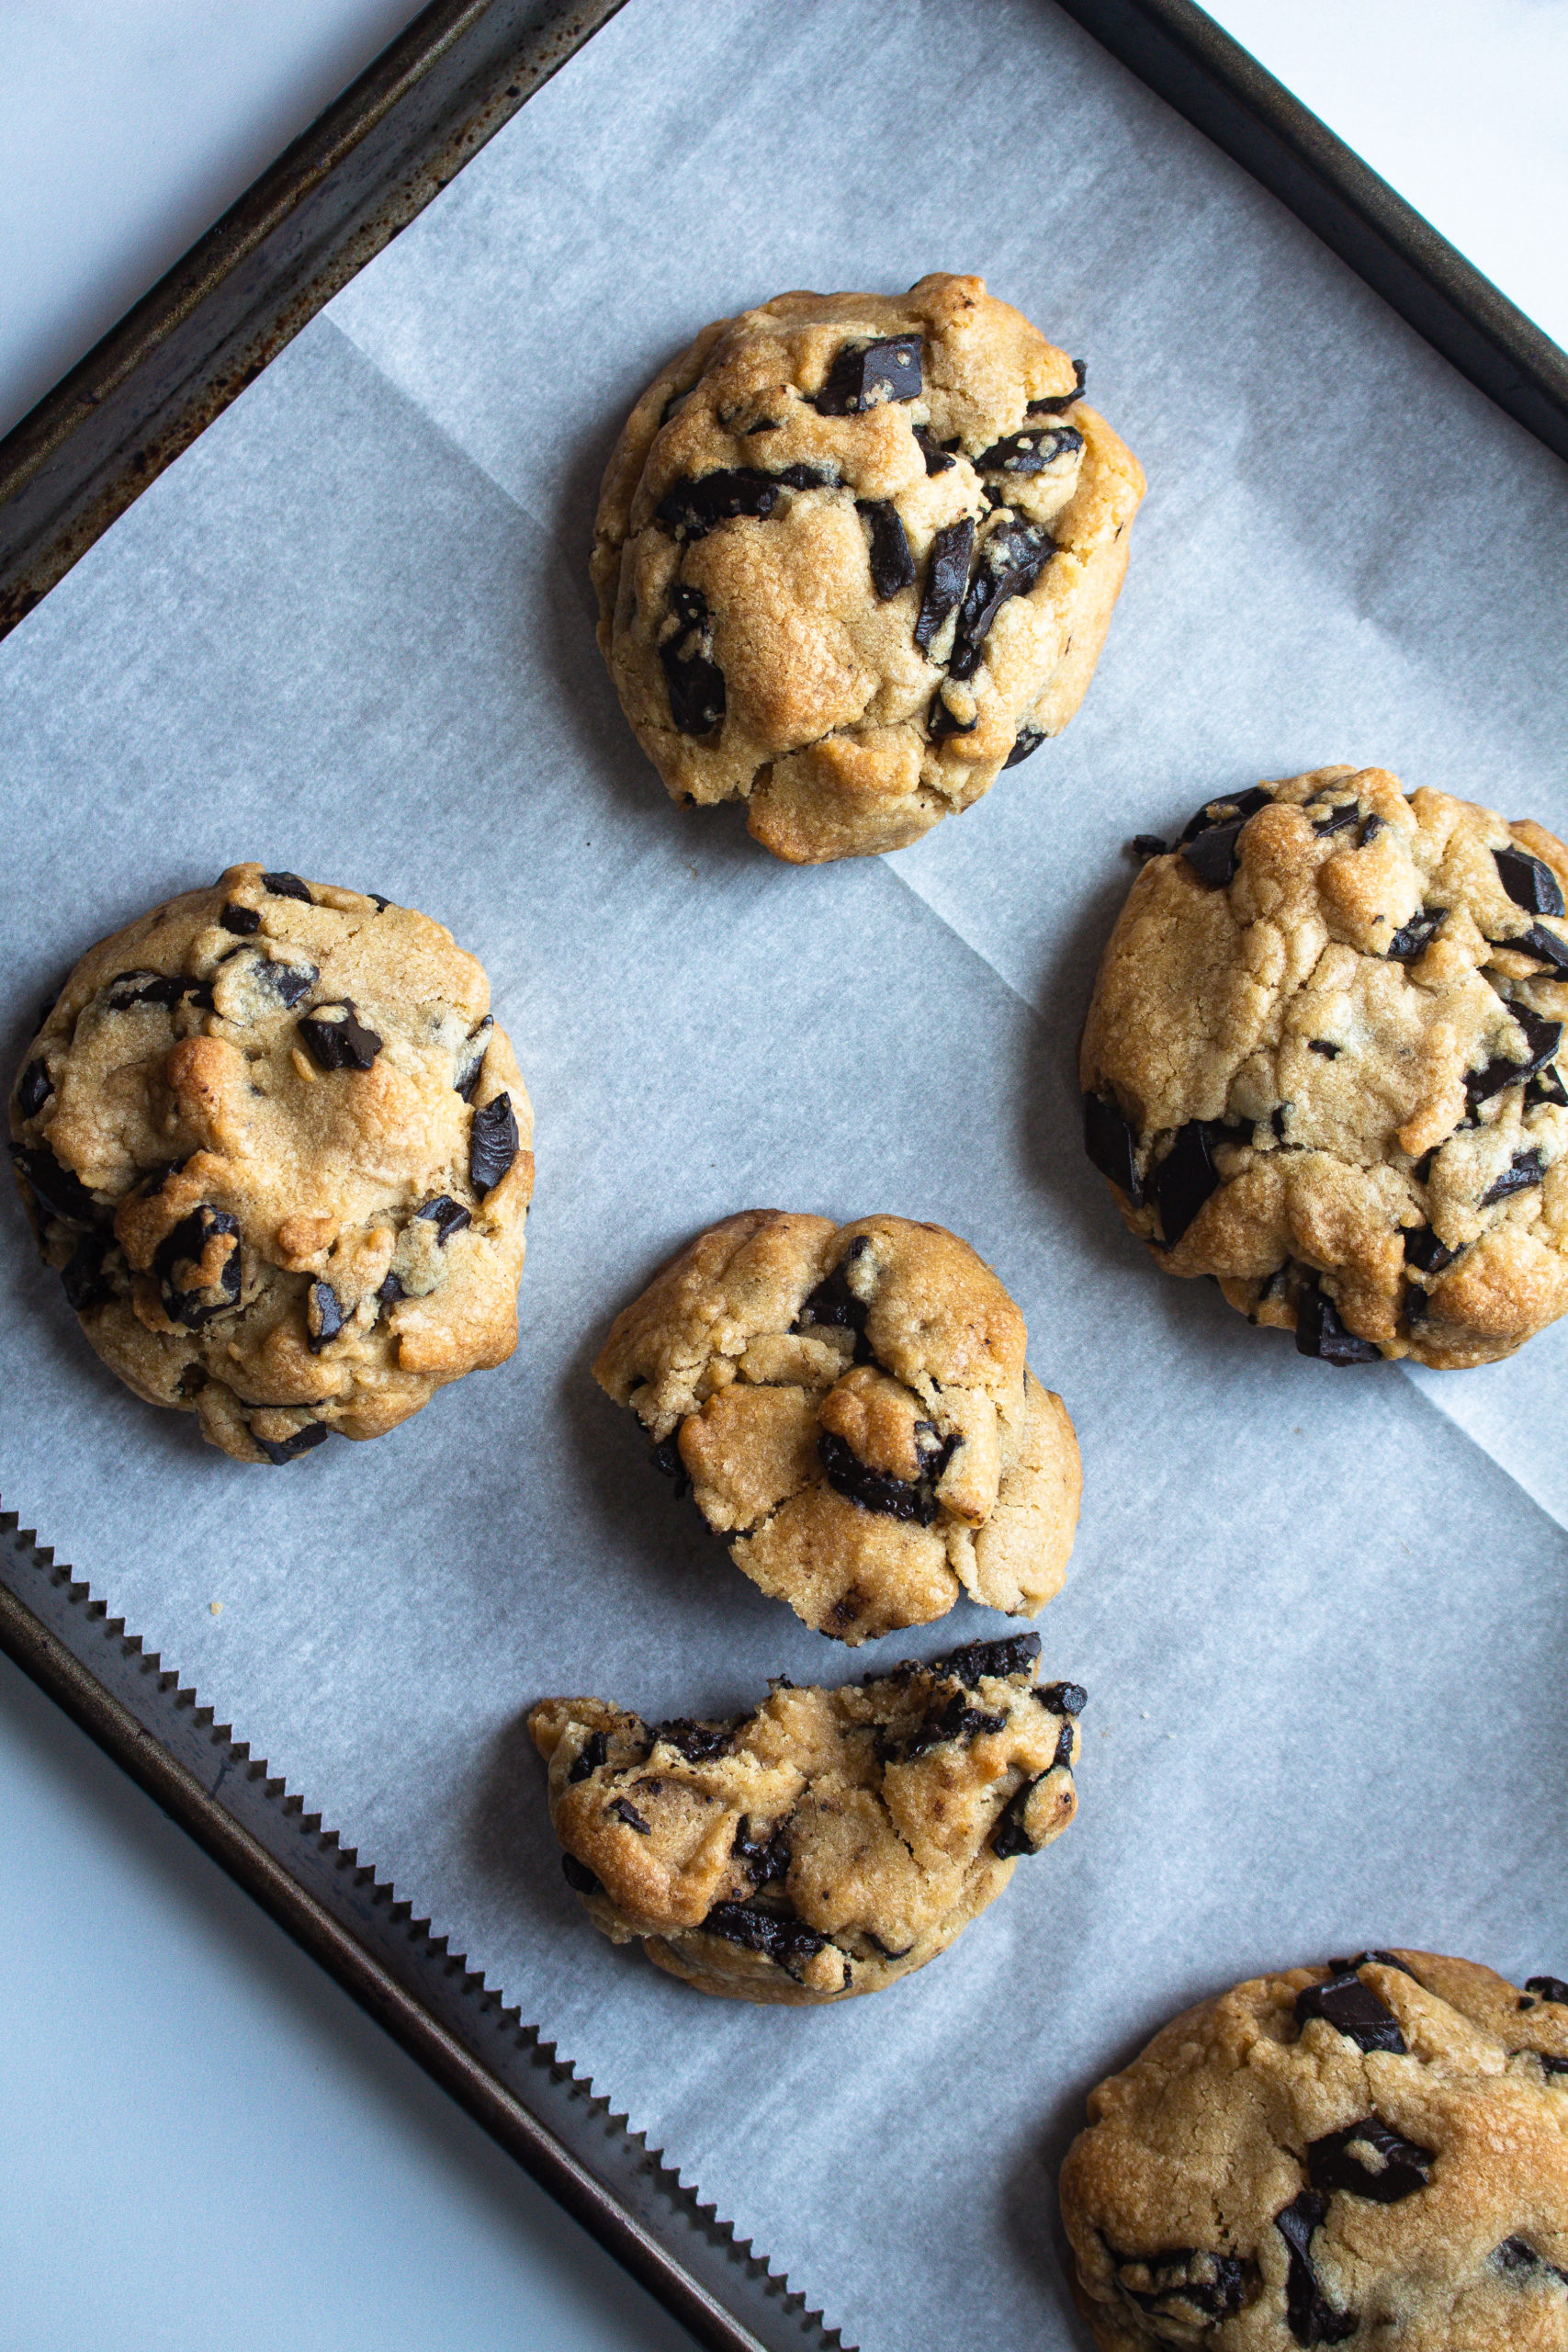
Burnt Miso (Brown Butter) Dark Chocolate Chip Cookies
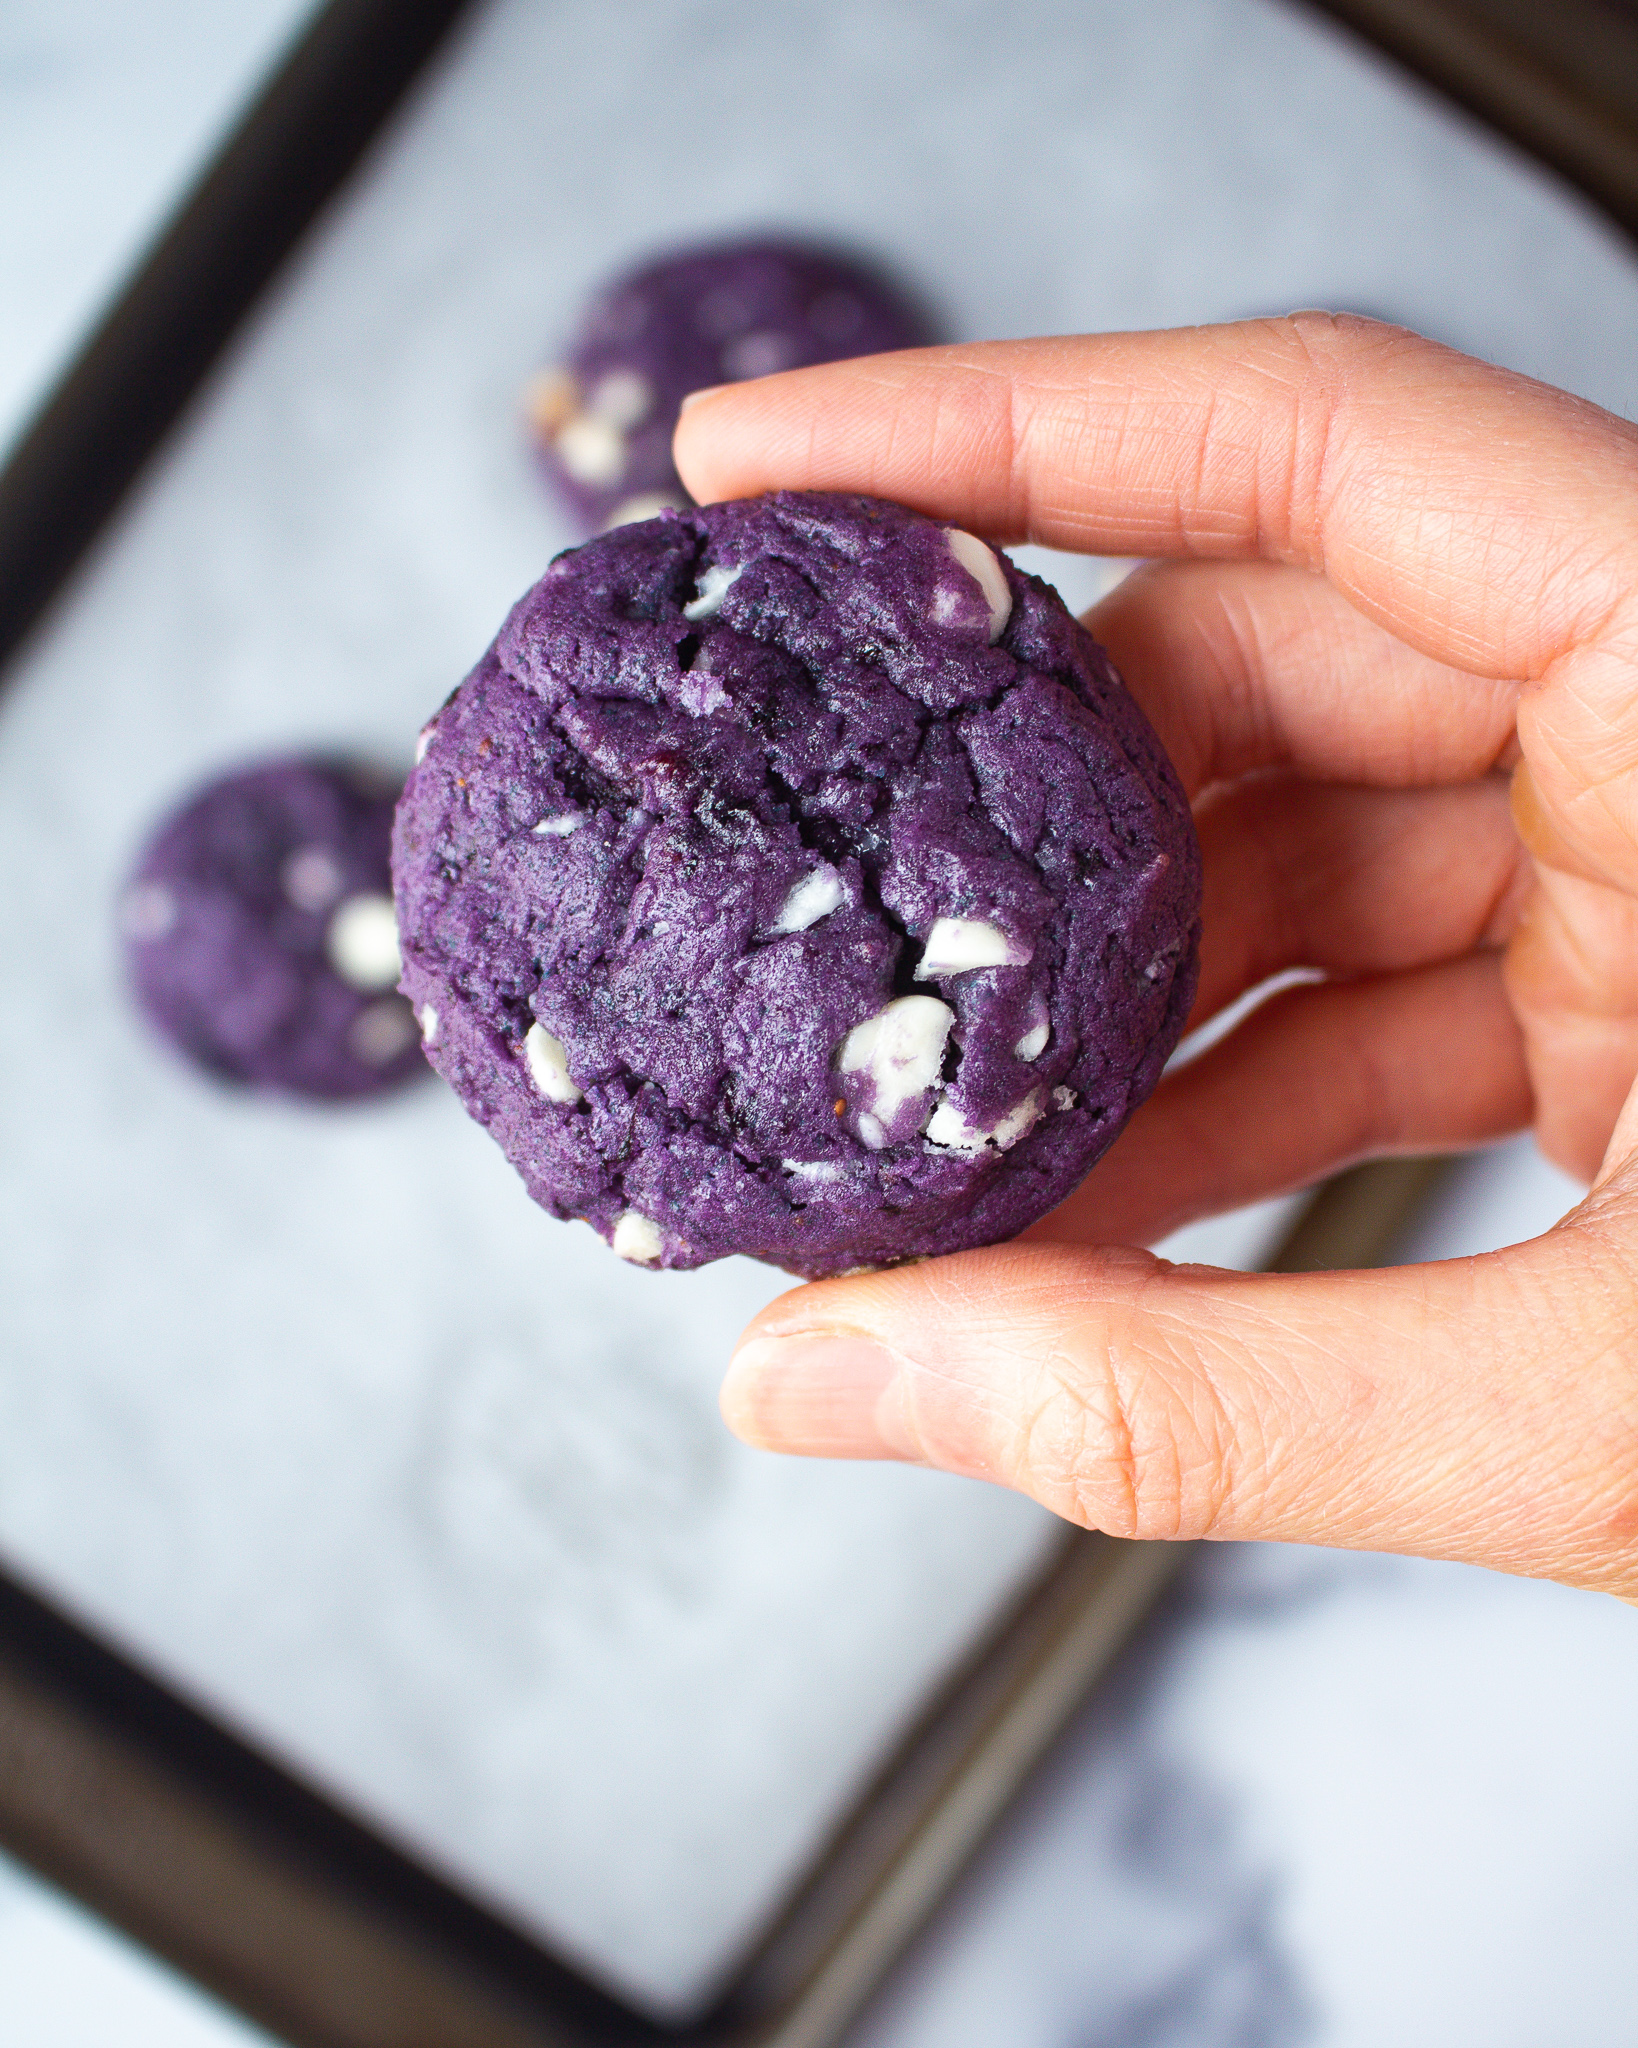
Blue(berry) Cookies | Vegan & Naturally Blue!
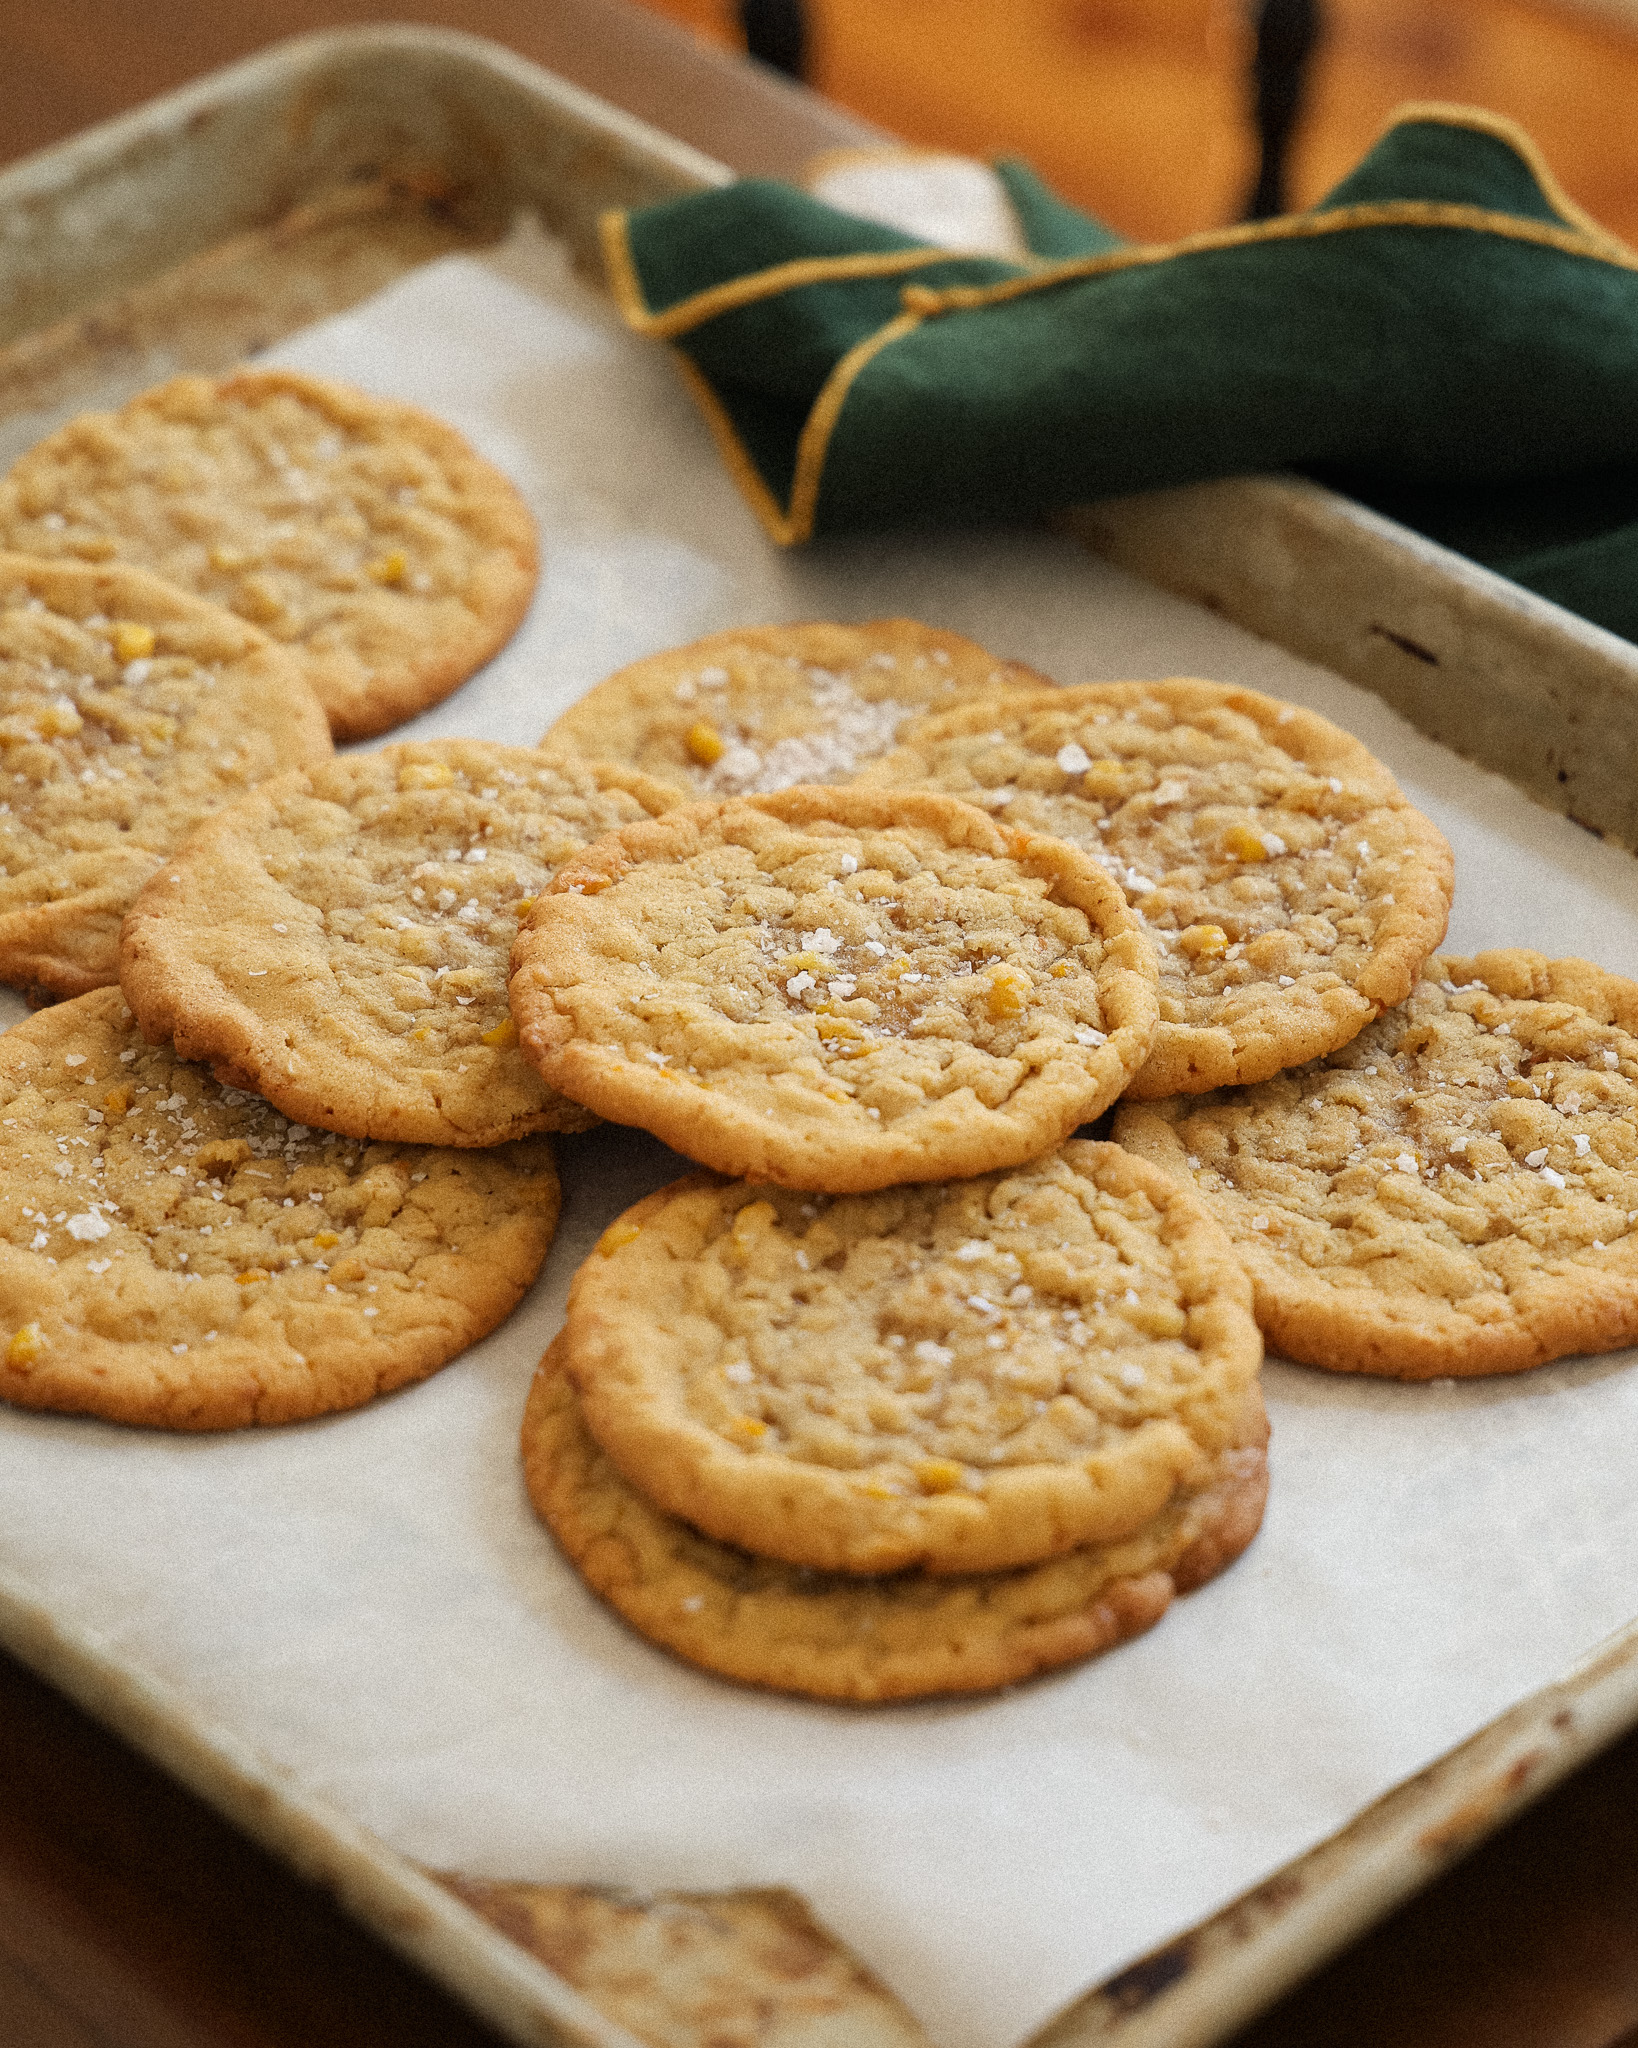
Vegan Levain Chocolate Chip Cookies
And that’s it for these Chocolate and Peanut Butter Marble Cookies!
If you make it, please tag me on Pinterest or Instagram so I can see! It’s my favorite thing to scroll through stories and see what you all are making.
And of course feel free to leave any questions, comments or reviews! This is the best place to reach me, and I’d love to hear from you <3

Equipment
- 1 whisk
- parchment paper
Ingredients
- 1 cup (226g) salted butter
For the brownie cookie:
- 1 tablespoon milk of choice
- 1 large egg, room temperature
- 1/4 cup (50g) granulated sugar
- 1/2 cup and 2 tablespoons (118g) brown sugar, packed
- 1 1/3 cups (175g) flour
- 2 tablespoons dutch process cocoa powder
- 1 1/2 teaspoons baking powder
- 1/4 teaspoon salt
For the peanut butter cookie:
- 1 tablespoon milk of choice
- 1 large egg, room temperature
- 1/4 cup (50g) granulated sugar
- 1/2 cup and 2 tablespoons (118g) brown sugar, packed
- 1/3 cup (75g) creamy peanut butter
- 1 1/3 cups and 1 tablespoon (183g) flour
- 1 1/2 teaspoon baking powder
- 1/4 teaspoon salt
For both:
- 113 grams 70% cocoa chocolate, chopped and divided
Instructions
- Add 226 grams of butter to a small saucepan over medium heat, stirring occasionally, until it starts to fizz slightly. Continue to stir until you see the milk solids turn a toasty brown.
- Divide the brown butter evenly into two large bowls. Since moisture has cooked off during the browning process, each bowl should have about 100 grams of butter.
To make the brownie cookie:
- Add 1 tablespoon of milk and whisk to temper the brown butter. Let it cool for a few more minutes. Once cooled, whisk in 1 egg, 118 grams of brown sugar and 50 grams of granulated sugar until combined.
- Add 175 grams of all-purpose flour, 2 tablespoons of cocoa powder, 1 1/2 teaspoons of baking powder and 1/4 teaspoon of kosher salt to the bowl. Mix until just combined.
To make the peanut butter cookie:
- Add 1 tablespoon of milk and whisk to temper the brown butter. Let it cool for a few more minutes. Once cooled, whisk in 1 egg, 118 grams of brown sugar and 50 grams of granulated sugar until combined. Whisk in 75 grams of creamy peanut butter until combined.
- Add 183 grams of all-purpose flour, 1 1/2 teaspoons of baking powder and 1/4 teaspoon of kosher salt to the bowl. Mix until just combined.
- Split 113 grams of chocolate evenly between the cookie doughs.
- Scoop out 3 tablespoons of each dough and roll them together into a smooth, marbled ball in your hands. Repeat this until you have 10 large cookies.
- Place the cookie dough balls on a parchment-lined baking sheet and chill in the refrigerator while you preheat the oven to 350°F.
- Bake for 10-12 minutes. The key is to remove the cookies before they look fully done. They will continue to "cook" outside of the oven, so this method helps them maintain the chewy texture.
- Let cool and serve!

Comments
My cookies came out dry and cakey. They didn’t spread as much as yours seemed to. Sad because I was really excited about this recipe. I used a scale and measured all of the ingredients correctly. What did I do wrong?
Hmmmm my only thought is that you cooked down the butter too far and it left each bowl with less than 90-100 grams – were you able to measure the butter after browning? These should be a very wet dough so I’m shocked they caked up!
Thanks for responding! Yes I measured the butter and it was about 200 ml (unsure what that is in grams) but my dough wasn’t dry at all. That’s why I was confused too!
Now I’m even more confused! My last thought would be either a difference in the egg size (that always gets me) or baking soda instead of baking powder, but none of these things should mess with the recipe enough to yield this result, especially if they dough is already very wet and pliable. I’ll do some testing this weekend and see if any trials mirror what happened to you!
I loved this recipe it was the best thing I have ever tried! I will do it again!
These are delicious! Especially when you really twist the two doughs together to marble them it makes all the difference! Both doughs together is the perfect bite! Great recipe! Saving this one for sure!
aw yay! I’m so so glad you liked it!
so delicious and cakey!! Highly, highly recommend if you are looking for something glamorously old fashioned and purely delicious…!
So thrilled you loved it! Thanks so much for your review 🙂
Leave a Comment
Made this recipe? Tell me all your thoughts or if you’ve got any questions!